
Happy weekend everyone, and welcome to February!
Well it seems that spring has well and truly sprung here. It's a beautiful day and I have seen my first daffodils in flower and lambs frolicking in the fields. The wind can still bring in a bitter chill so stay cozy with one of these adorable animal hoods.


You will need;
1. 1m of fleece in the colour that you would the outside of your hood to be. I got this fleece from the lovely people at Doughty's in Hereford.
http://www.doughtysonline.co.uk/
2. 1/2m of lining fleece. This can be the same colour or a contrasting one. This pattern works without being lined but the extra layer will give your hood more structure and will be warmer. If you want the inside of your ears to be a corresponding colour then you will need fleece for this too (I used off cuts from the lining fleece).
3. Thread in the colour of your fleece.
4. A sewing machine. (You can hand stitch but it will take a loooong time.)
Step 1
Cut out your fleece.
Here are the measurements for an adult hood;


REMEMBER If you are lining you hood with the same colour fleece then you need to cut out 4 'hood side' pieces, alternatively cut out 2 in each colour.
Step 2
Insert gussets into collar.
Cut slits into the collar as indicated in the pattern.

Pin each gusset before sewing.


Sew the panel along the short edges so it makes a tube (the seam will be at the back of the hood). I found it useful to place a pin at the front center point as this will make lining things up easier later on.
Step 3
Make animal ears.
Feel free to miss this step out if you would like a plain hood. But why would you?
Cut out 4 ear pieces. Cut 2 smaller pieces of felt in a corresponding colour and sew these onto 2 of the ear pieces.


Place the 2 remaining ear pieces on top and sew round the edge.

Snip the tip off each ear. This will make a finer point when you turn it inside out. Be careful not to snip your stitching.
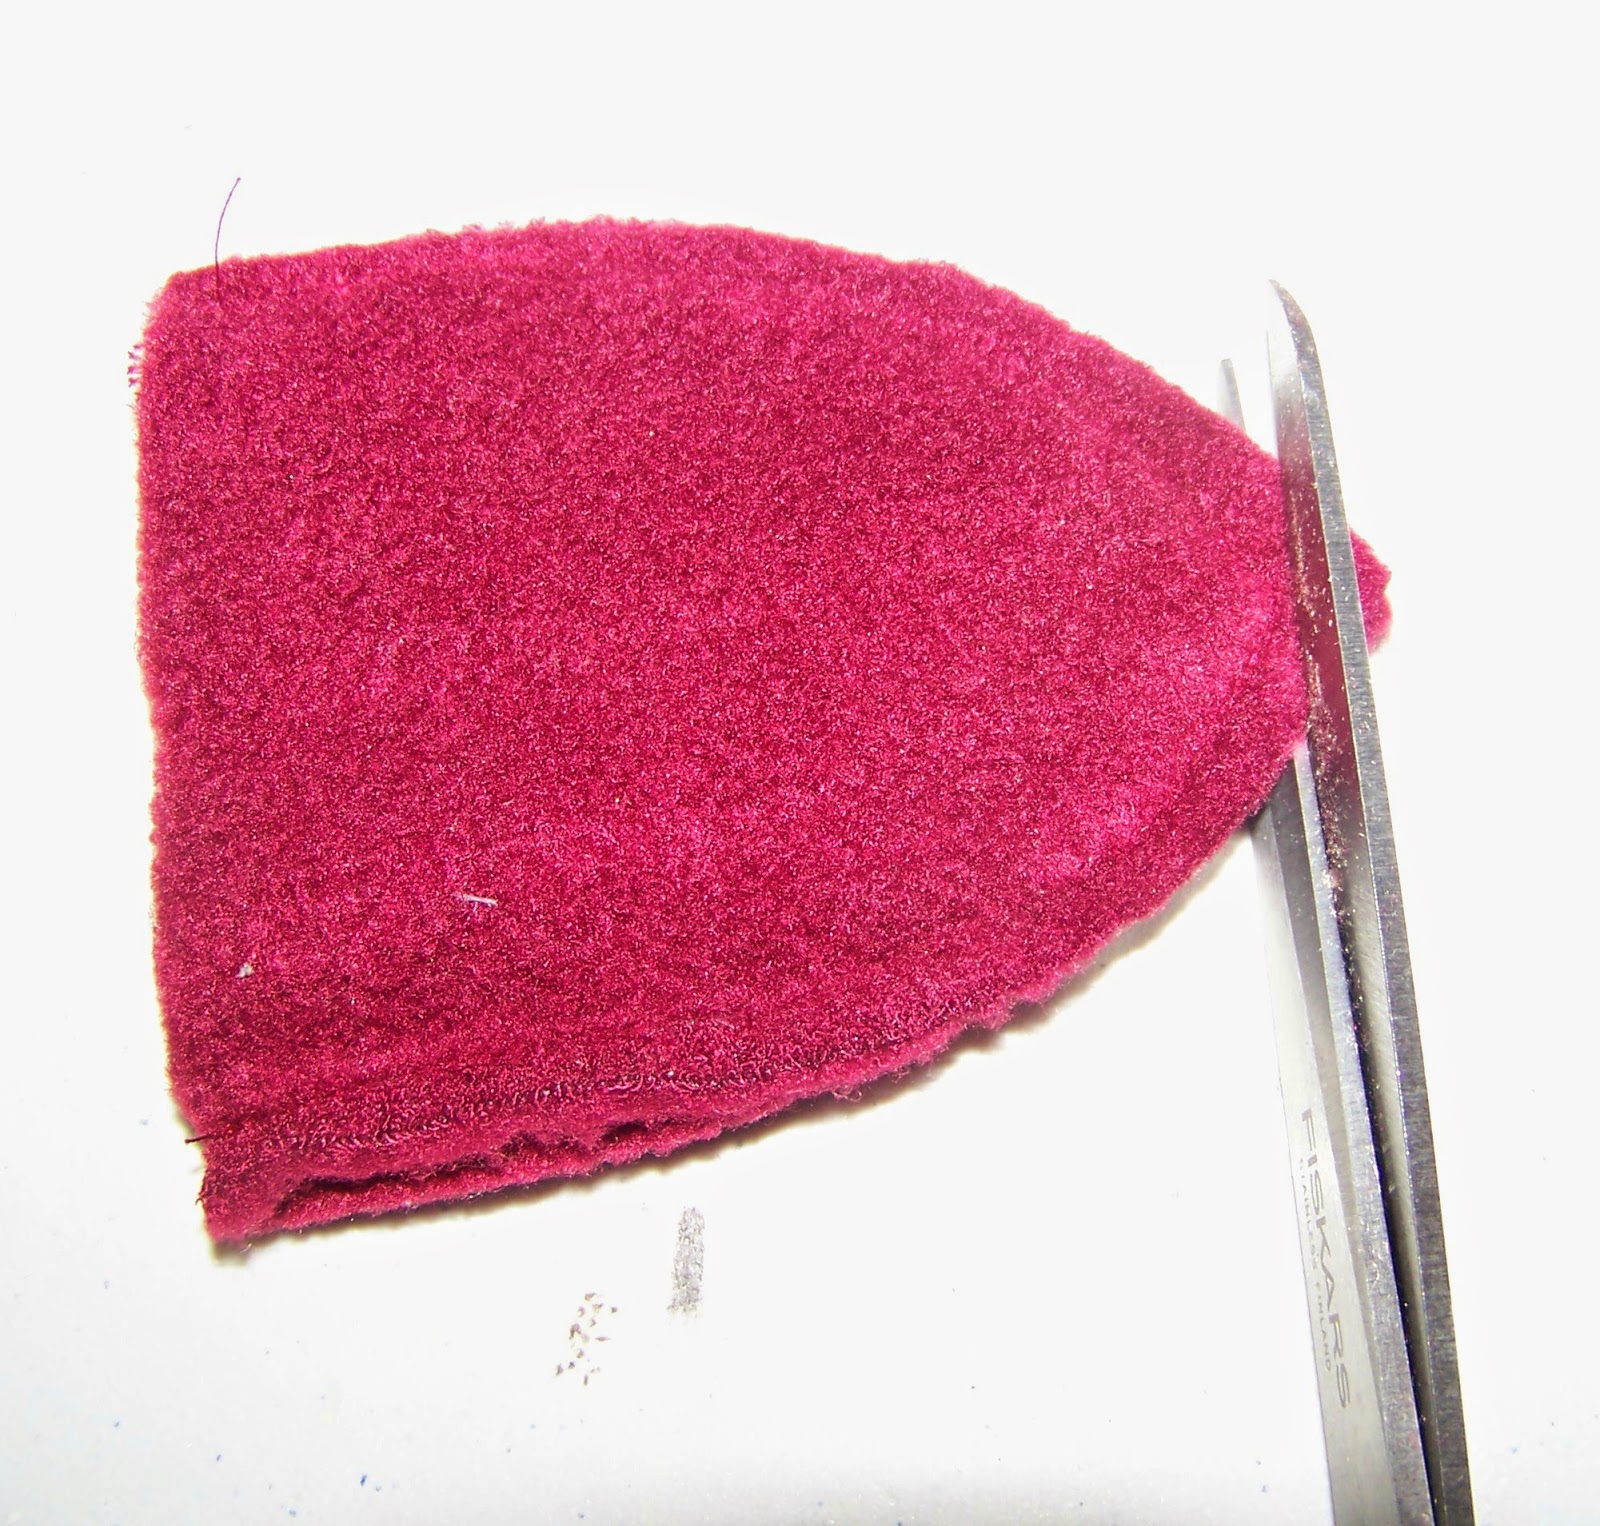
Turn ears inside out.

Pin round the edge and sew as close to it as you can. This will make the ear flatter and help hold its shape.
Put the ears aside for the moment.
Step 4
construct hood
Pin the central hood panel to one of the sides.

Insert the first ear.
Fold the base of the ear in half and slip into the underside of the hood about 16cm from the front. The 'open' side of the fold should be facing the front of the hood. This way when you turn it the right way round it should still be facing the front. Check this once you have finished pinning, before you sew.


Sew where you have pinned.
Repeat for the other side panel.
Repeat this step in the lining fleece.
Step 5
Attach hoods together.
Place your outer hood facing you turned the right way (the ears should be on top).
Place the hood liner INSIDE OUT on top of the outer hood (you should see the seams of the liner).

Pin all the way around the front of the hood and sew.

Turn round the right way and sew close to the edge as you did with the ears.
Step 6
Attach the hood to the collar
Now this next step is a little bit tricky, I have tried to make it as clear as possible but I myself got this wrong the first time and I had to re-pin it.
Right....
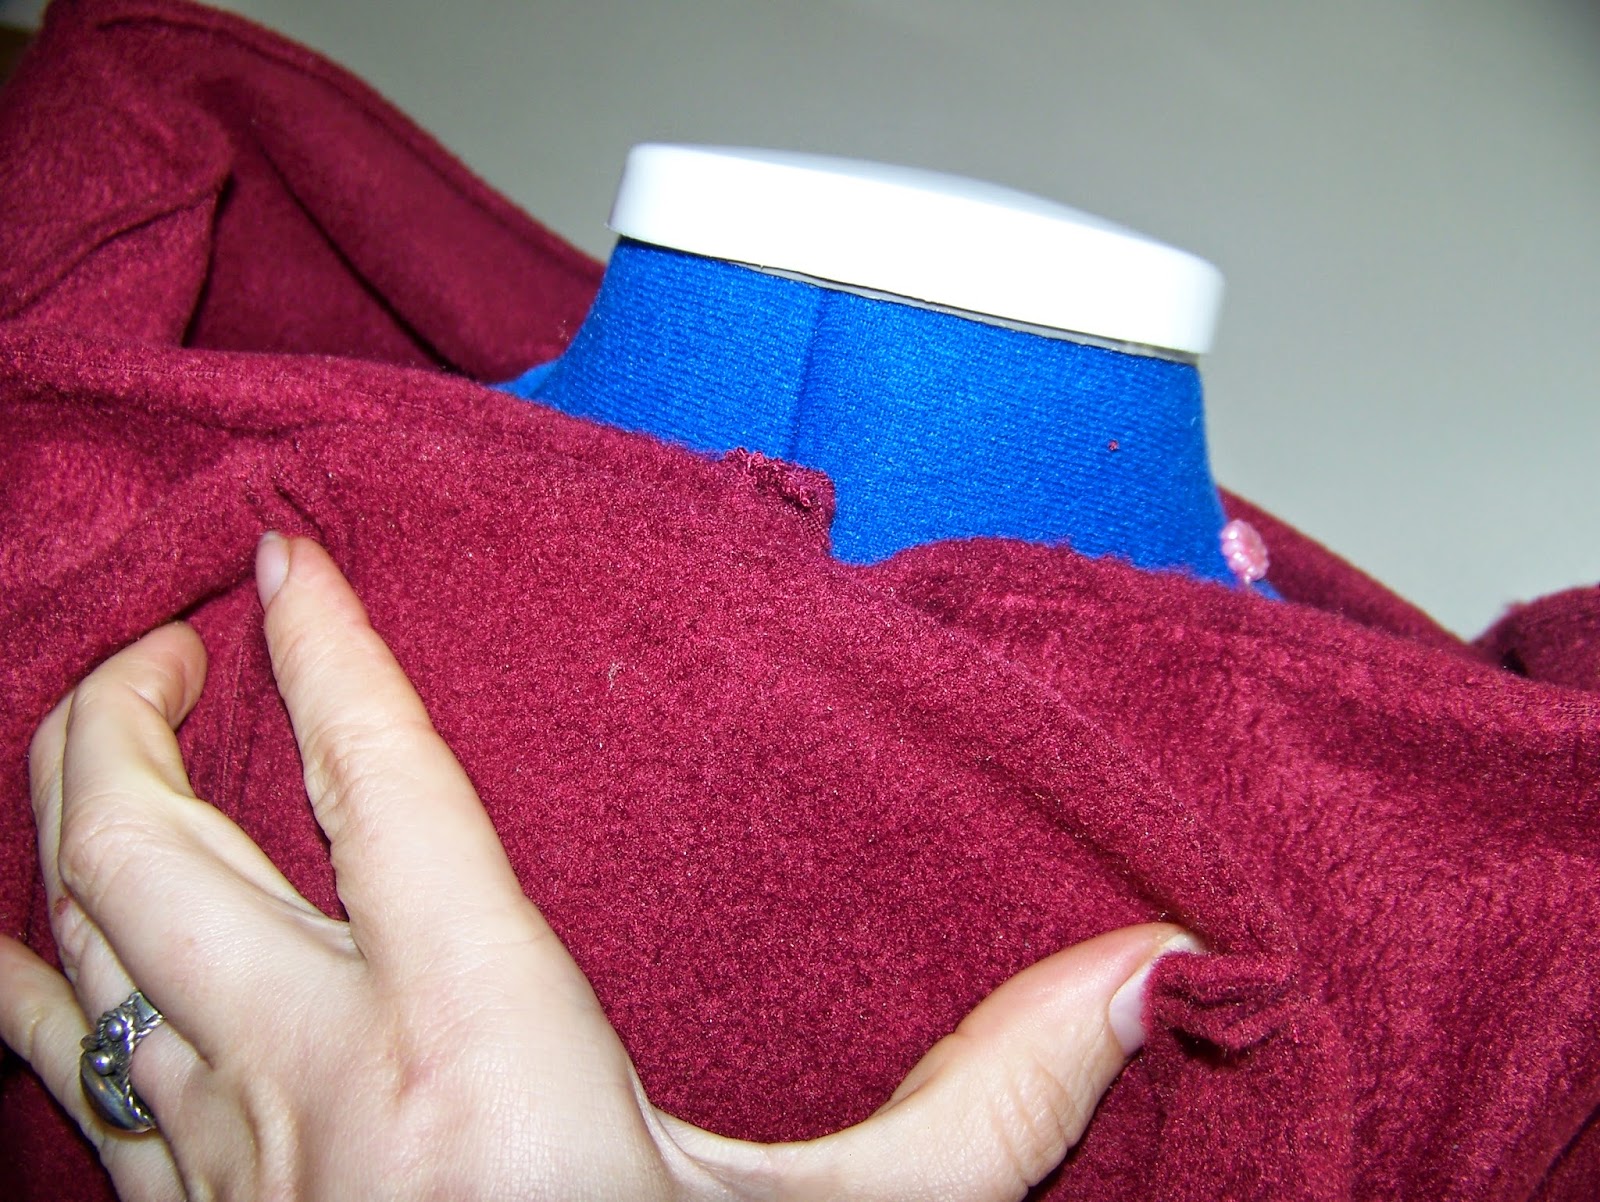
Place the collar on a mannequin so its the RIGHT WAY ROUND (tidy side facing you). If you don't have a mannequin then the back of a chair or a pillow will work just as well.

For the moment we are going to ignore the lining fleece, just let it hang down for now.
Line up the central panel of the outer hood INSIDE OUT, with the center back seam on the collar and pin.


Keep pinning the hood all the way around the edge of the collar.
You will notice an overlap at the front. This is fine, just place one side (including the liner) under the other.


Sew all the way around the edge attaching the hood to the collar.
Turn the right way round. Your nearly there!

Step 7
Sew in the hood liner.
Turn the hood back inside out as you had it at the end of the last step.
Roll a little of the hood liner over so it has a neat edge and over sew by hand, to hide the outer hood's seam.


Do this all the way around and your all done!

Don your hood and say "stuff you chilly wind!"
Why not try making different ears for your hood? A pair of floppy bunny ears would be cute for spring or perhaps add some antlers for an autumnal look?
If your having trouble with any part of the tutorial, leave a message in the comments box and I'll get back to you in a jiffy.
Happy Crafting!
Please share and like us of Facebook. Join us again soon for some more great DIYs!
No comments:
Post a Comment