Showing posts with label Tutorials. Show all posts

Tuesday, 28 March 2017

DIY herb Planter


Anyone who is into cooking will tell you the advantages of using fresh herbs in your food. But how do you store them when cut herbs from the supermarket only last a couple of days?
Well you make a cool herb planter of course!

Thursday, 23 March 2017

What a load of Blog! How blogging can help your business identity.


Newsflash! Tesco is blogging about 5 things you can do with a pineapple......

OK I'm not sure if they actually are, but its the sort of thing that they would blog about.


In today's social media culture, nothing is private. Your savvy customers want to know everything about your business so they can make an informed choice about who you are, and if they want to do business with you. 


And that's a good thing! 

A customer that is engaged with your story and your brand is far more likely to buy from you, and more importantly keep buying from you. 

Blogging is about strengthening your businesses identity. Creating and sharing content that promotes your businesses core values instils interest in your customers and helps them to trust you. This makes them want to buy from you, because they feel that they know you better than they do your competitors.


Blogging is the human face on the mechanical business machine.

I'm not saying that your business is a faceless robot. But if your looking to have hundreds or thousands of customers that could be spread all across the globe, It's difficult for them to really "know you" unless you help them out a little. 

But your blog doesn't need to sound like a teenagers diary entry.

"Dear diary, today I made a sale *happy dance*"

Blogging needs to set the tone of your business. The blog of a legal firm will sound very different to that of a sweet shop. Imagine you are talking to your customers sitting in front of you. What sort of language would you use? How formal would you sound? Is the tone conversational? Frank and to the point? Chatty?


What will it cost you?

Quite often, nothing.

If you have a website already then you probably have everything already in place to start blogging. You may want to add a page to your website that you can keep updated and use as a blog. Alternatively you can use a free or very cheap blogging platform and link it to your site.

These are two of the most popular free blogging sites;

Wordpress.com

Wordpress is so simple to use! 
You can create a very professional blog in literally minutes. It looks great, but it costs.  The most basic packages are available for a minimum of £2.50 per month but these are so basic that I'm not sure that you would find them much use for business purposes. 

Their business package means that you can use your own domain name, remove the word "Wordpress" that would otherwise be plastered all over your blog as well as a host of other benefits. 
But with prices starting at £20.83 per month, (that's a whopping £249.46 a year) you need be sure that your blog is going to be earning you some revenue before you leap in. 

You can get a free website or blog through Wordpress. But if you are serious about blogging then I would recommend upgrading to one of the more professional packages.

If you want to monetise your blog or use it as a store/shopping platform for your product then it's great.

Blogger.com

This is hosted by Google. The advantages to this are that you blog will be fully integrated into your google profile, making sharing your content and getting it seen easy peasy. Blogger also includes Google analytics free. So if you like to know where your audience is coming from and what they are looking at, then this is the one for you.

Blogger is compatible with Google Ad-sence, so making money from having ads on your page is as easy as clicking a button.

It is also absolutely free. 

The downside it that it is not as user friendly as Wordpress. It's also quite complicated to try to set it up as a shop.

How often do you need to blog?

This entirely depends on your audience. You want to keep your content fresh so that your readers have something new to interest them each time they visit. 
Popular blogs with 10,000 readers a day need to update their content every few hours but that's because they have a huge reader base to be kept entertained. 
Blog as often as you think your readers will visit, whether that be once a week or once a month.

What content should you put into your blog?

Content needs to be;

Honest

Part of the reason why you are writing a blog is so that potential customers can get to know and trust you. If you value your businesses integrity (and I'm sure you do) then you will only write about what you know to be factually correct. Giving your opinion is fine so long as you make it clear that's what it is, and so long as that opinion fits into your brand. If in doubt, leave it out.

Interesting

If what your writing is boring, your customers won't read it. If what you are writing about is fundamentally boring (tax legislation for example) then use interesting language and try throwing in a few info-graphics to liven it up a bit.

Relevant

If your business is a bouncy castle rental in Croydon, don't blog about the political situation in Cuba. Leave that for your own Facebook page.
Do however blog about the largest bouncy castle ever made, or link to an article about throwing the best ever kids birthday party (just make sure it recommends bouncy castles).

Helpful

Your customers want to be better informed about your business, so inform them! 
Write an article on how your product has helped someone live a better life. Or how your service has helped someone save a ton of money. Your blog is about promoting YOUR business.

Shareable 

Shareable content is like the philosophers stone. One article that hits the right note with your readers can be shared countless times, propelling your business ahead of your competitors. There is no real formula to what makes something go "viral". 
New, innovative content that makes people go "wow, I haven't seen that before! everyone I know needs to see this!" is what makes people press that magic "share" button.


Wednesday, 18 January 2017

How to build a Successful Craft Business from the Ground Up. Step 1 - Setting strong foundations with insurance


When running your own small crafting business it's important to be able to wear many hats. Marketing, PR, administration and accountancy are things that we "expect" to be able to do for ourselves. The benefits of this are huge, with the average small business in the US spending on average $7,600 a year on legal expenses alone, the advantage of a little knowhow can go a long way to improving your bottom line.

But where do you start? Say you've made an amazing cushion and sold it on Facebook, Great! Then before you know it you're making 30 a week to fulfil your FB and Etsy orders, you're supplying 5 local shops and you're starting to think that this could be a serious income stream for you.


Congratulations, You have a business!

But with great power comes great responsibility and It's important to ensure that your new business had strong foundations on which to build on.

In this series I will be going through some of the essential requirements that you will need to fulfil in order to protect your fledgling business. And great news, you can do them all yourself.


Step 1 - Setting strong foundations with insurance


This is quite possibly the most important foundation stone for your business.

Insurance is the one thing that YOU MUST HAVE! If something goes wrong it won't be a tap on the knuckles or a small fine. It will be a no holes barred legal frenzy in which a very powerful and very knowledgeable legal firm will be working exceptionally hard to take EVERYTHING FROM YOU. Would you seriously put everything you hold dear at risk for the sake of a 10 minute phone call and £50?

Insurance doesn't need to be scary or expensive. Taking out a simple policy will protect you and your business should anything unexpected happen.

So What sort of insurance do you need?

Here are the 3 main areas of cover that you should be looking for in a policy;

Public Liability Insurance ( PLI)

This protects your company against claims made by your customers for accidental injury and damage to property.
If you plan on selling at craft fairs then you will defiantly need PLI. Some events are happy with you having £2 million in PLI cover, but most council run markets require £5 million.

Some things I have heard people say;

"I don't need PLI because I don't do craft fairs"

PLI would cover you for any claim made as a result of someone injuring themselves due to your not showing "reasonable care". This can be at a craft fair, in your car, at your home/office or anywhere that you may have interaction with your customers.

"I don't need PLI because I work from home and don't see my customers"

You need PLI even if you work from home and never see your customers face to face. What if a customer comes to collect an item as a one off? They may trip on that loose paving slab outside your front door and makes a claim against you?

"PLI isn't a legal requirement"

It is true that your are not legally required to have PLI. But unless you have an emergency £2 million in your back pocket, I would get it anyway.

"I don't need PLI because I only sell to friends and family and they would never make a claim against me"

Lets say a family friend (who is a self employed plumber) buys an item off you. They then injure themselves on that item and can't work. They then make a claim to their OWN business insurance for their lost earnings. Their insurance company then claims against YOU for the lost earnings of their customer. It's not only individuals that can claim against you.

Products Insurance (PI)

This covers the cost of compensation should someone be injured as a result of a faulty or damaged product that is produced, designed or distributed by your business.


Some things I have heard people say;

"I don't need PI because my products are 'safe' "

Never underestimate the stupidity of the general public.
That small button in the centre of your hand stitched lavender bag, can be chewed off by a child in 10 seconds flat.
That bubblegum bath bomb that you made last week was fine for Mrs Miggins, but it gave her sister a horrible allergic reaction.

"I don't need PI because I don't make the items I sell"

You need PI even if you are only distributing items. If you buy Items from other suppliers and sell them on, you are just as liable.

"I don't need PI because I'm only designing items"

As above, even if you are only designing an item (eg a sewing pattern) you are still liable if the finished product develops a fault that results in an injury. The court will probably find in your favour if the injury was a result of the pattern not being followed correctly. But your still going to wish you had legal cover for the £5,000 solicitor fee.

Legal Cover (LC)

As you might guess, this covers you for legal fees that result if a claim is made. You do not necessarily need legal cover. You can represent yourself if an issue should arise, but for the sake of what could be just a couple of pounds if anything on your premium, I would recommend having it.

Like dental work and upholstery, the law is one of those things best left to the professionals.


The way this is paid works slightly differently depending who you are insured with. Some insurance companies expect you to cough up for the legal fees yourself and then re-imbrues you afterwards, and some pay direct. If in doubt, ask you insurance provider.

Insurance providers

There are many providers that can cover your craft business some like Direct line and AXA are large companies that do many kinds of insurance. You are more likely to get low cost and basic packages with these providers.

If your craft is something that is a little more niche them you may wish to consider using a specialised craft insurer. Craftcover.com provides insurance specifically tailored for the craft industry.

My experience

I have my insured through Direct Line. It costs me £55 a year and covers me for;
  • Public Liability (£2,000,000)
  • Product Liability (£2,000,000)
  • Stock away from home (£1,000)
  • Money away from home (£3,000)
  • Legal cover (£100,000)
  • Loss of earnings (£35,000)


Summary

If you don't have insurance, go get it. Like now.

If in doubt, get more cover than you think you need you will never regret having too much protection.


I hope you've found this article helpful Step 2 will cover the financial requirements for your business including accountancy, tax and cash flows.

Sign up to our mailing list to be the first one to hear when we have new articles and tutorials on offer.


Friday, 13 January 2017

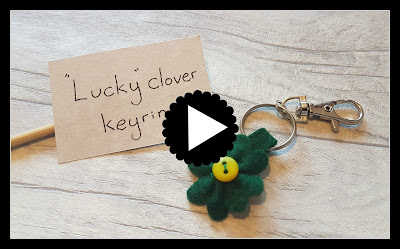
Felt Four Leaf Clover Keyring

https://youtu.be/RS2i4jzOZqY


Its Friday the 13th but have no fear! Take a little luck wherever you go with this adorable four leaf clover charm. You lucky bean.

Wednesday, 4 January 2017

A Dazzling Work of Heart


With Valentine's Day just around the corner, It's time to start getting a bit romantic with our crafting. Here's a craft that for under a tenner,will pull more on your loved ones heart strings than your post Christmas purse strings.

You will need;


  1. A bag of buttons. This bag contains approximately enough buttons for 2 canvases and was £3 from The Range available here.
  2. Self adhesive gems. I used colours that corresponded with the buttons I was using. The red are available here, and silver here.
  3. A plain square canvas. This one is 12". Available here.
  4. A square piece of paper approximately 25x25cm
  5. A glue gun.
  6. A pencil.
  7. Scissors.

Start by making your heart shape.
Fold your square paper in half from point to point.
Place a circular object (I used a saucer) on top of the paper and draw round it.
Cut around the shape and unfold to create the heart.


Place your paper heart onto your canvas and draw round it LIGHTLY in pencil.


Start to lay out the buttons on the canvas.
Begin in the centre and work outwards leaving as few gaps as you can. Don't worry about tiny gaps as these will be filled in with the gems later.


 Once you are happy with how your buttons are placed, glue to secure.
Before you glue on the most outer buttons, rub out the pencil heart.


 Now use the gemstones to fill in any gaps still remaining on the heart.
If you have some gems larger than the others use these first, then fill in with the smaller gems.


And there you have your finished canvas! A dazzling work of heart!


If you would like to make it super blingy, put a gem in the centre of each button.


We would love to see how your hearts turn out. send us your pics so we can put them on our Facebook page and don't forget to 'like' us to be the first to know about future tutorials!


Saturday, 31 December 2016

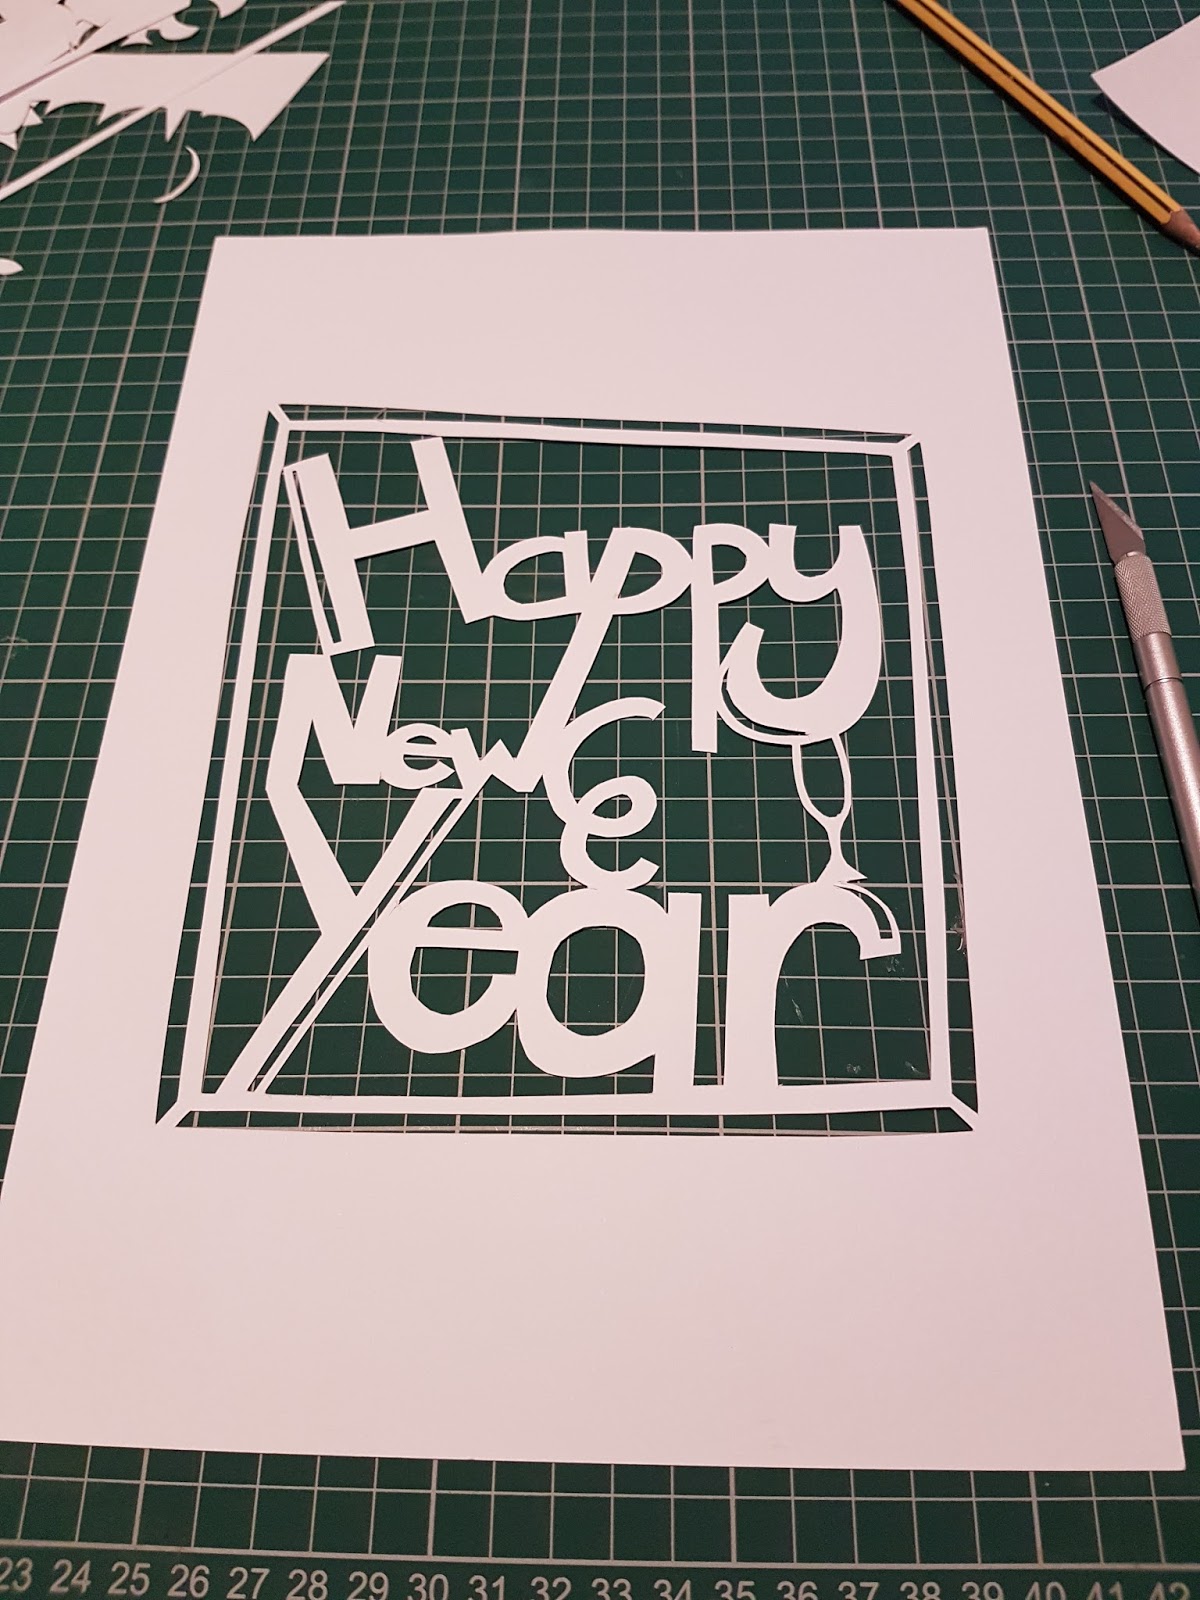
Paper cutting

Happy New Year!
And what a strange year its been! If someone had told me this time last year what 2016 had in store for me I simply wouldn't have believed them. Oh well out with the old and in with the new!

Why not bring in the new year with a new craft? If you've never done it before then paper cutting can be great fun. It really does get easier the more you practice. Here's an easy design for you to try out over the bank holiday weekend.


All you need is;

  1. A piece of thin(ish) paper. I used ordinary printer paper but any scrap paper is fine
  2. A piece of thick(ish) paper or thin card. This is what your final design will be on
  3. A self healing cutting mat
  4. A scalpel
  5. A pencil


Start off by drawing your design on the thin paper in pencil.


If you like you can draw a boarder around it. This will make it easier to cut a boarder later.


Once you are happy with your design, place it face down on the white thick paper or card.

You will need to rub over the paper quite hard to transfer the design to the thick paper. Try using a coin or the back of a spoon.


This will transfer the image onto the thick paper in reverse.


Begin with the pieces in the centre. Carefully use the scalpel to cut out the pieces between where the letters join. Be careful not to isolate any letters as these will fall out when the image is complete.


Once you have cut out all the pieces in the centre, you can cut out the inside boarder.


The more you cut away the more delicate and intricate your design will be.

Congratulations!
Now sit back and admire your paper cutting. Why not try some more detailed designs or make some personalised Birthday cards?
We would love to see what you have made. Why not share your finished work with us over on our Facebook page?