

Showing posts with label Papercraft. Show all posts
Showing posts with label Papercraft. Show all posts
Tuesday, 21 March 2017

Wednesday, 4 January 2017
A Dazzling Work of Heart

With Valentine's Day just around the corner, It's time to start getting a bit romantic with our crafting. Here's a craft that for under a tenner,will pull more on your loved ones heart strings than your post Christmas purse strings.
You will need;
- A bag of buttons. This bag contains approximately enough buttons for 2 canvases and was £3 from The Range available here.
- Self adhesive gems. I used colours that corresponded with the buttons I was using. The red are available here, and silver here.
- A plain square canvas. This one is 12". Available here.
- A square piece of paper approximately 25x25cm
- A glue gun.
- A pencil.
- Scissors.


Start by making your heart shape.
Fold your square paper in half from point to point.
Place a circular object (I used a saucer) on top of the paper and draw round it.
Cut around the shape and unfold to create the heart.

Place your paper heart onto your canvas and draw round it LIGHTLY in pencil.


Start to lay out the buttons on the canvas.
Begin in the centre and work outwards leaving as few gaps as you can. Don't worry about tiny gaps as these will be filled in with the gems later.

Before you glue on the most outer buttons, rub out the pencil heart.

If you have some gems larger than the others use these first, then fill in with the smaller gems.

And there you have your finished canvas! A dazzling work of heart!

If you would like to make it super blingy, put a gem in the centre of each button.

We would love to see how your hearts turn out. send us your pics so we can put them on our Facebook page and don't forget to 'like' us to be the first to know about future tutorials!
Saturday, 31 December 2016
Paper cutting
Happy New Year!
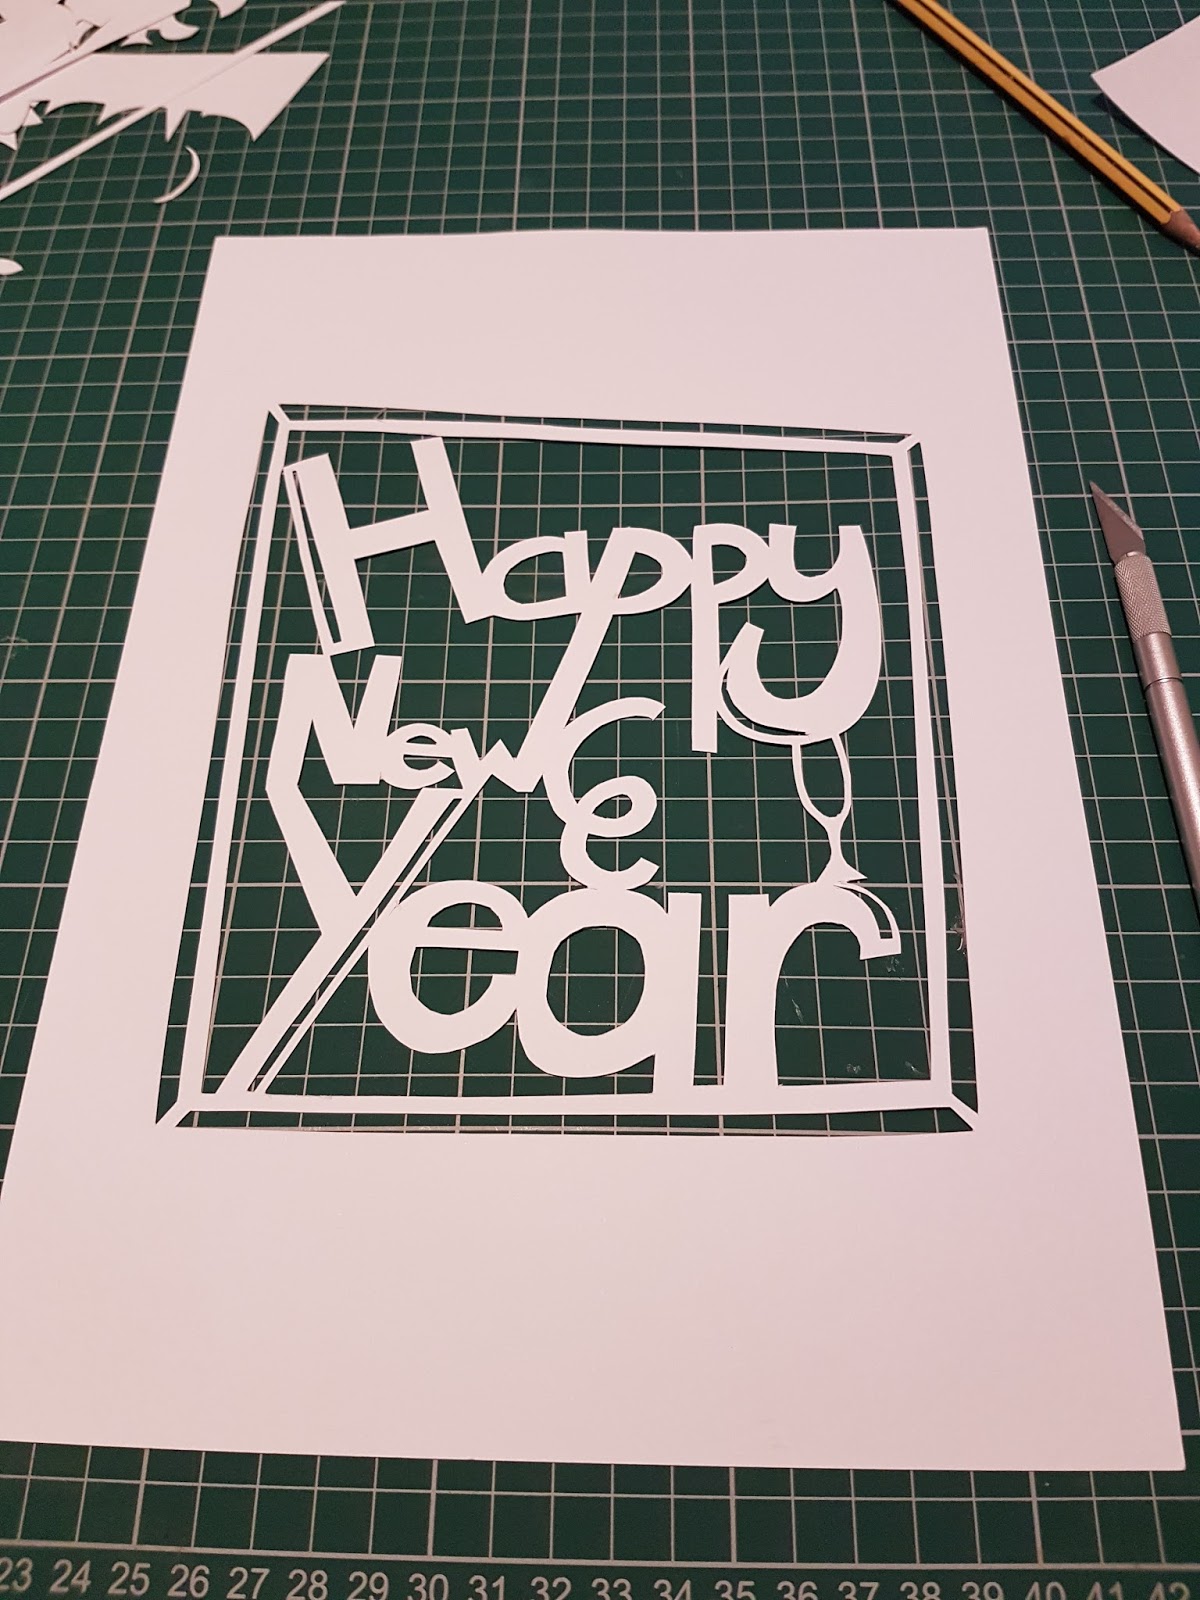
And what a strange year its been! If someone had told me this time last year what 2016 had in store for me I simply wouldn't have believed them. Oh well out with the old and in with the new!Why not bring in the new year with a new craft? If you've never done it before then paper cutting can be great fun. It really does get easier the more you practice. Here's an easy design for you to try out over the bank holiday weekend.
All you need is;
- A piece of thin(ish) paper. I used ordinary printer paper but any scrap paper is fine
- A piece of thick(ish) paper or thin card. This is what your final design will be on
- A self healing cutting mat
- A scalpel
- A pencil

Start off by drawing your design on the thin paper in pencil.

If you like you can draw a boarder around it. This will make it easier to cut a boarder later.

Once you are happy with your design, place it face down on the white thick paper or card.

You will need to rub over the paper quite hard to transfer the design to the thick paper. Try using a coin or the back of a spoon.

This will transfer the image onto the thick paper in reverse.

Begin with the pieces in the centre. Carefully use the scalpel to cut out the pieces between where the letters join. Be careful not to isolate any letters as these will fall out when the image is complete.

Once you have cut out all the pieces in the centre, you can cut out the inside boarder.

The more you cut away the more delicate and intricate your design will be.
Congratulations!
Now sit back and admire your paper cutting. Why not try some more detailed designs or make some personalised Birthday cards?
We would love to see what you have made. Why not share your finished work with us over on our Facebook page?

Wednesday, 11 February 2015
Tutorial - Hanging 3D Heart

This tutorial comes compliments of my totally amazing and super crafty Mum!

My Mum can take all the credit for my OCD (Obsessive Crafting Disorder).
Always on hand with some paper, scissors and a cup of tea. She has a wealth of creative inspiration, and has encouraged me (and consoled me) through more crafty projects than I could count!
This is a variation on a fantastic Christmas decoration pattern that I hope she will do for us closer to the festive season.
For this project you will need;
Card - Any colour you like! Try using old valentines or birthday cards.
Glue - PVA works just fine.
Cord or Ribbon - To make a loop.
Decorations or Adornments - Gems, sequins, glitter? You know the drill...
1. Make a selection of bits of card and paper that you knew would come in useful one day.
2. Make a heart template by folding a piece of card or paper in half, draw and then cut out the half a heart. You may need to have a few goes before you are happy with one. Use this template to draw round and then cut 8 (ish) hearts.
3. If you have a mix of shades/colours it’s a good idea to arrange them in a circle to make sure the 1st one doesn’t clash with the last one.
4. Following your chosen order fold them back in half (right side inwards) and glue one half, joining it to the next until you have a stack. Double check each time that they match. Hold or peg for a little while but also open out to make sure glue hasn’t oozed out and glued all your hearts to each other.
5. Before joining the 1st to the last heart, insert a loop of fine cord or ribbon and glue in place.

6. I chose to decorate with little hearts and jewels but it is just as pretty if left plain.


Thursday, 29 January 2015
Tutorial - Paper Hearts

Hi everyone! Today I will be showing you how to make these super cute paper hearts.
They only take about 10 minutes to make and are super easy.
This pattern uses an A4 piece of paper and makes a heart 16cm X 16cm.
You will need;
- Paper
This can be any size or colour you like. You can use card but it can be difficult to bend without it creasing.
2. Stapler or Glue
Using a stapler is quicker but glue is much neater.
Step 1
Cut your paper into even strips up the long edge of the paper approximately 1.5cm wide. You will need 8 strips for the heart we are making.
Mark your strips at the 15cm, 20cm and 25cm points as per the image. Note how many you need of each type. Note, the piece marked '20cm' you need to keep the 10cm off cut as this will become the shortest pair.

Once you have cut them on the marks your pieces should look like this;

Next rearrange them so they are in this order;

Step 2
From the left, place piece 1 on top of piece 2, ensure that the bottom is level. Then place both on piece 3 and so on....
Once you have reached the centre piece (No.6) pull it down so a tab sticks out about 4cm below the others. This tab will hold the strips at the bottom and stop you decorations shape distorting.

When all the strips are on top of each other you can secure them. Either staple or use glue.

Step 3
Starting with the shortest strips on the outside, bend them round and hold them so they line up with the tab.

Continue doing this until all the pieces are bent round and line up. (if you are gluing your heart then it is easier to glue each pair down before moving onto the next.) Secure the last pair of strips with glue or a staple.


Easy peasy! Try using different colours for each pair, or make several and stick them together to make a snowflake or flower.

Happy Crafting!
Wednesday, 21 January 2015
Tutorial ! - Goals Board

Hi everyone, I hope your having a great weekend!
2015 seems to be steaming along, and with February looming in the not to distant future I find myself thinking, "OMG I haven't done anything this year"! Have no fear, creating a goals board can help you focus and soon you will be on your way to fulfilling what you set out to do on the first of January.
You will need for this project;
1. A picture frame
This can be glass or plastic fronted, I have used glass as this is the most common that you would find in a charity shop. But if there is concern with regard to children, animals etc then Hobbycraft have a great range of plastic fronted picture frames.

2. Coordinating paper
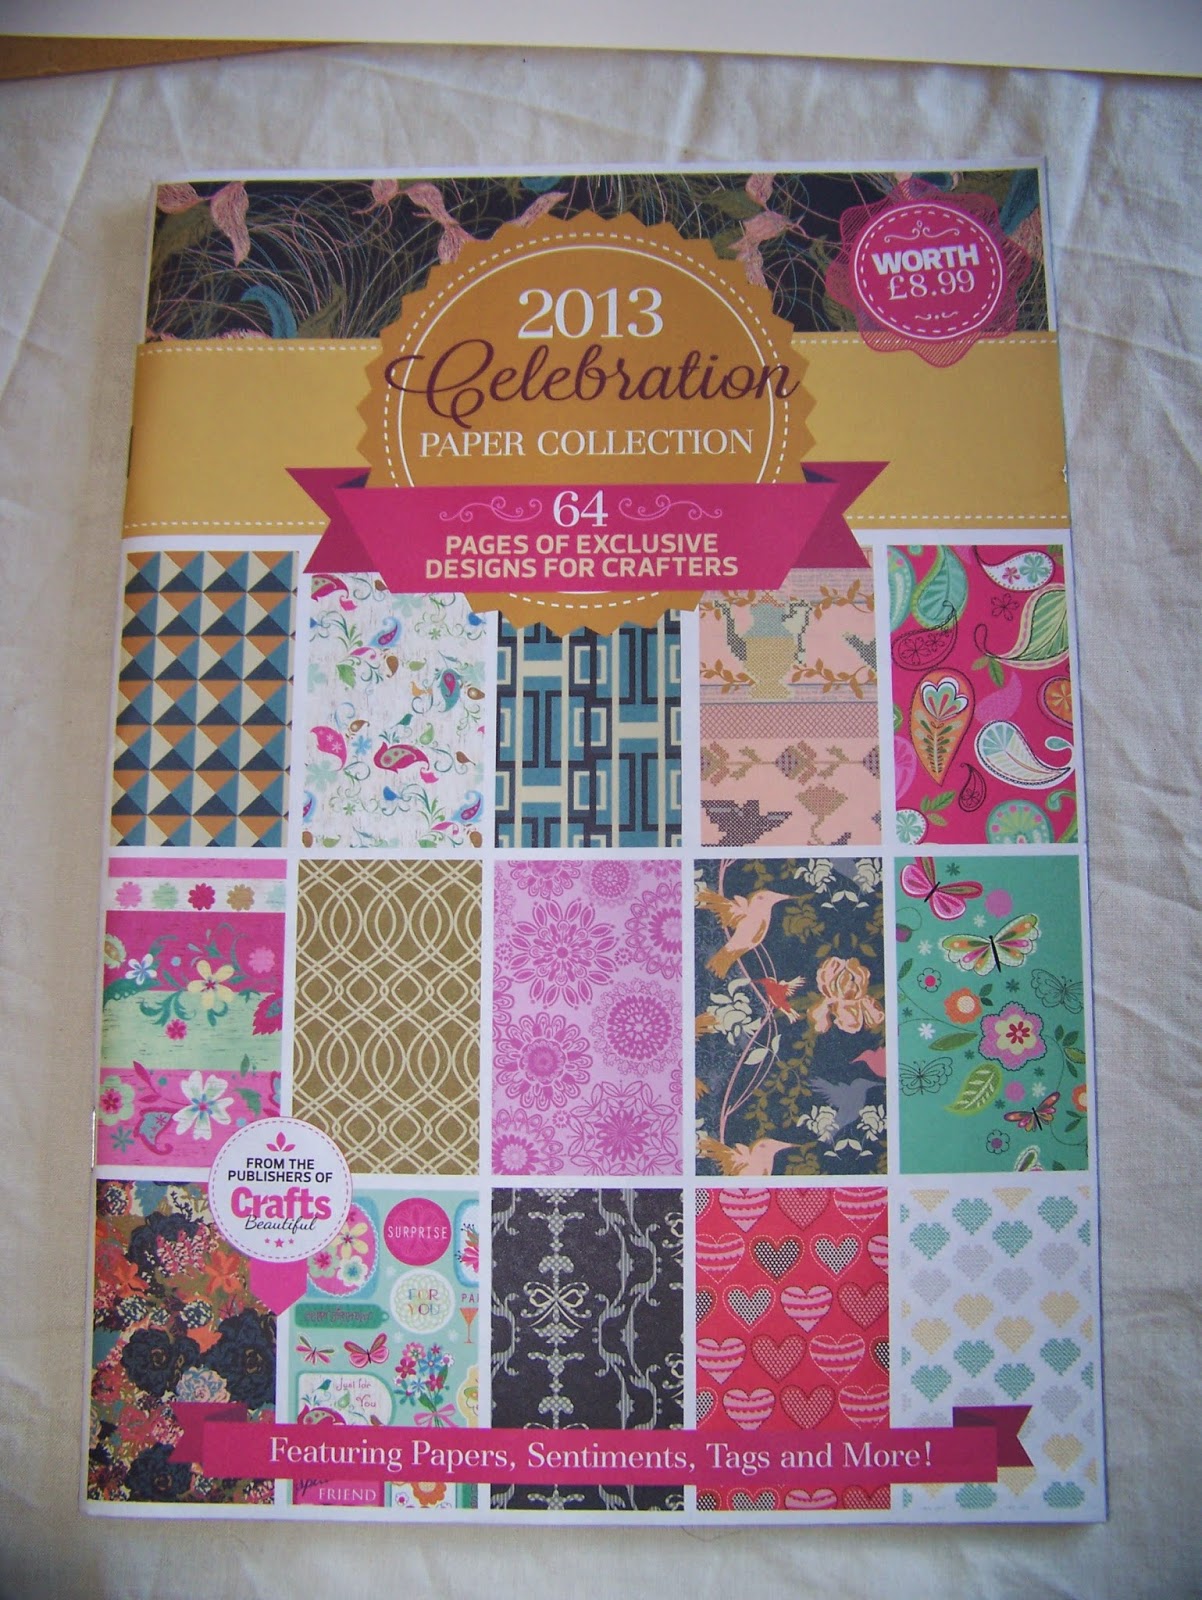 I have decided to use pale pastel shades, but you can use whatever colour combinations you like. Try using a theme or colours that fit in with an existing scheme.
This paper came free with a crafting magazine. I love a freebie!
3. Double sided tape or glue
I have used tape for this project as I feel that glue can leave a "lumpy" texture on the paper. you can get round this by placing something heavy on it like a book until it has dried. you could also use a transfer tape pen.

4. Additional adornments
Glitter, photographs, lace, sequins......go nuts.
Step 1
Preparing the frame
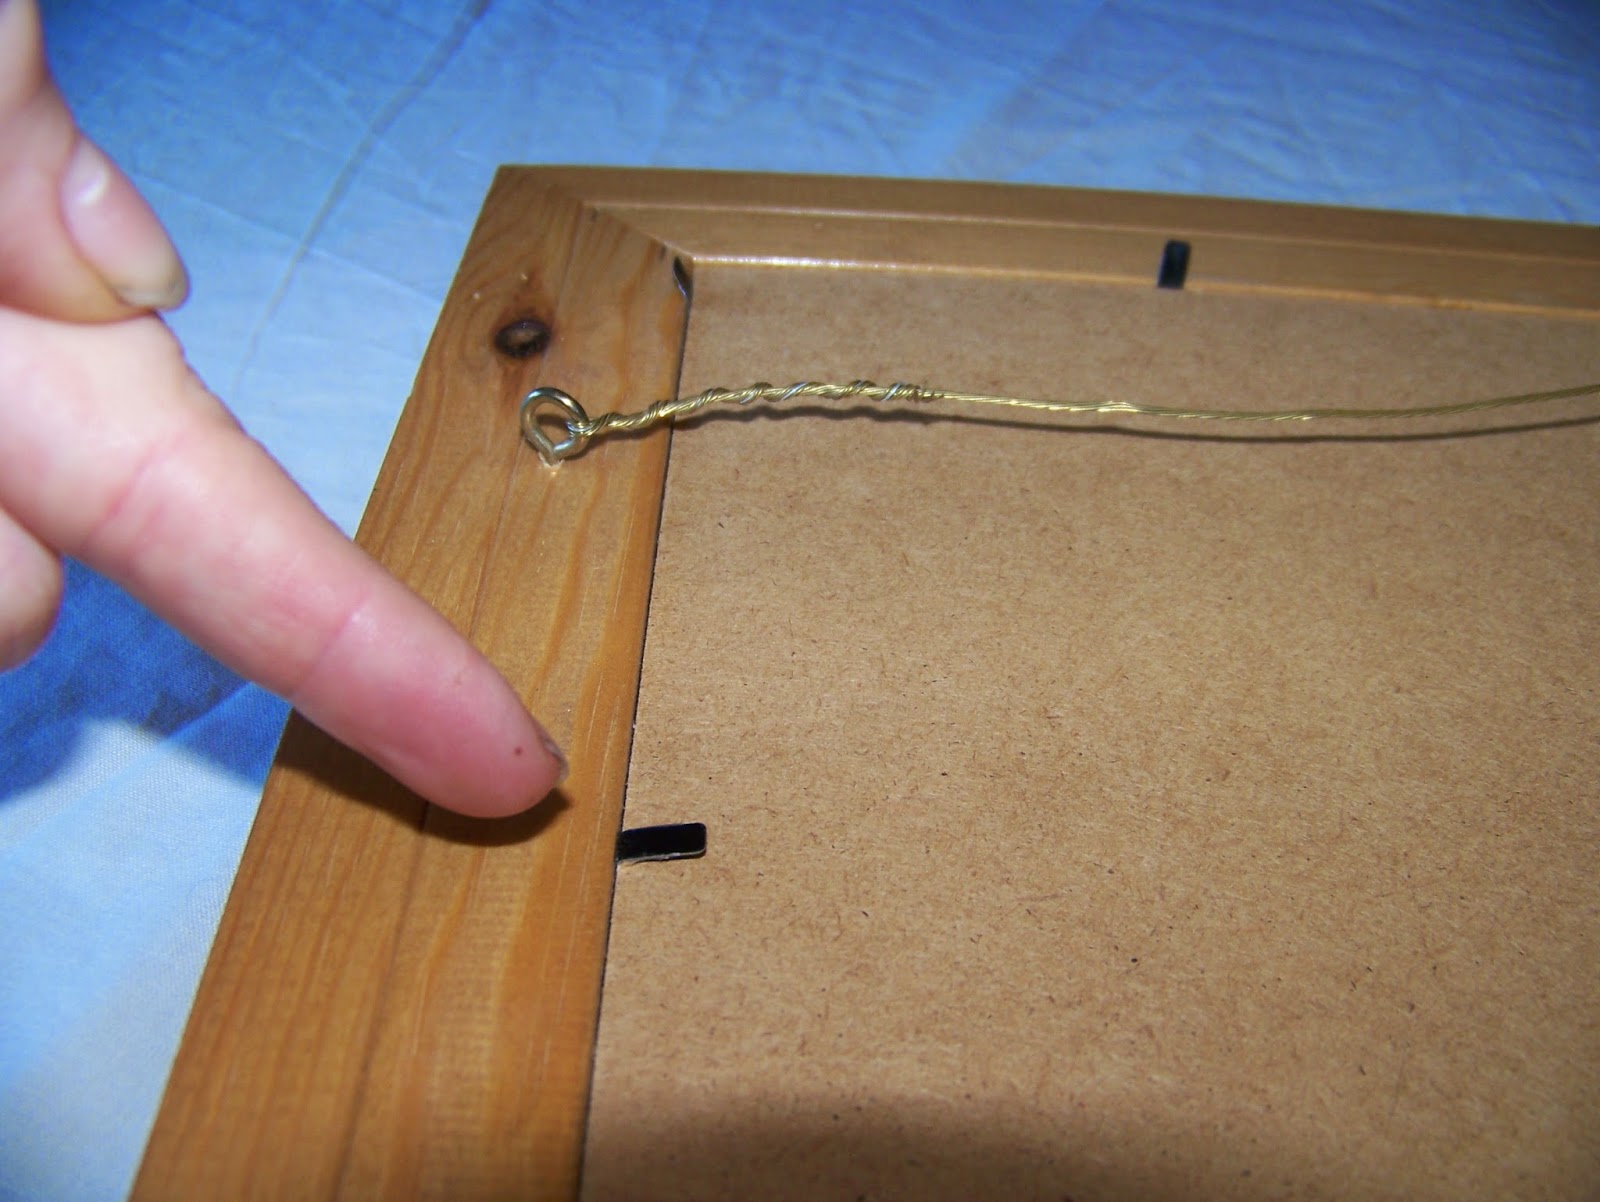 I bought this frame from a charity shop. Oh how I love charity shops and their guilt free shopping!
If you're buying a second hand frame then its best to get one with a re-sealable back (see pic) this is because there are elements of your board that you may want to replace in the future, and this makes it much easier.

Carefully unfold the clips and remove the backing board and any paper or card inside. Keep these for future projects, you never know when they may be useful.
VERY carefully remove the glass. WARNING! The edges of the glass may not be finished and therefore can be sharp! This is especially the case with old frames so use gloves if your not sure.
Use window cleaner or white vinegar to clean both sides of the glass. I like to use vinegar because its cheaper than window cleaner and to be honest it give just as good a result.

You can see the price sticker didn't come off very easily so I just soaked it in a little vinegar for a few minutes and then used my nail to gently push it off.


Once your happy that it is clean, set aside in a safe place where it cannot get broken.
I decided not to paint the frame, just gave it a clean. But feel free to customize it however you like, you could paint it shabby chic or decoupage for a great effect.


Step 2
Planning your board
Use a piece of paper to roughly plan out how you would like your board to look.
Incorporate all the elements that you would like in your final design. these could include;
- Photos
- Inspirational quotes
- Lists
- Charts/progress markers
- Momentos
- Space for notes/reminders

Cut out these items on scrap paper and place them on your backing board to see how they fit in the space. Move then around until your happy with the layout.
Step 3
Choosing paper
Choose a backing paper. This can be plain or have a pattern. If you're using more than one sheet to cover your backing board then make sure the pattern lines up with the next sheet so that the join isn't too obvious.

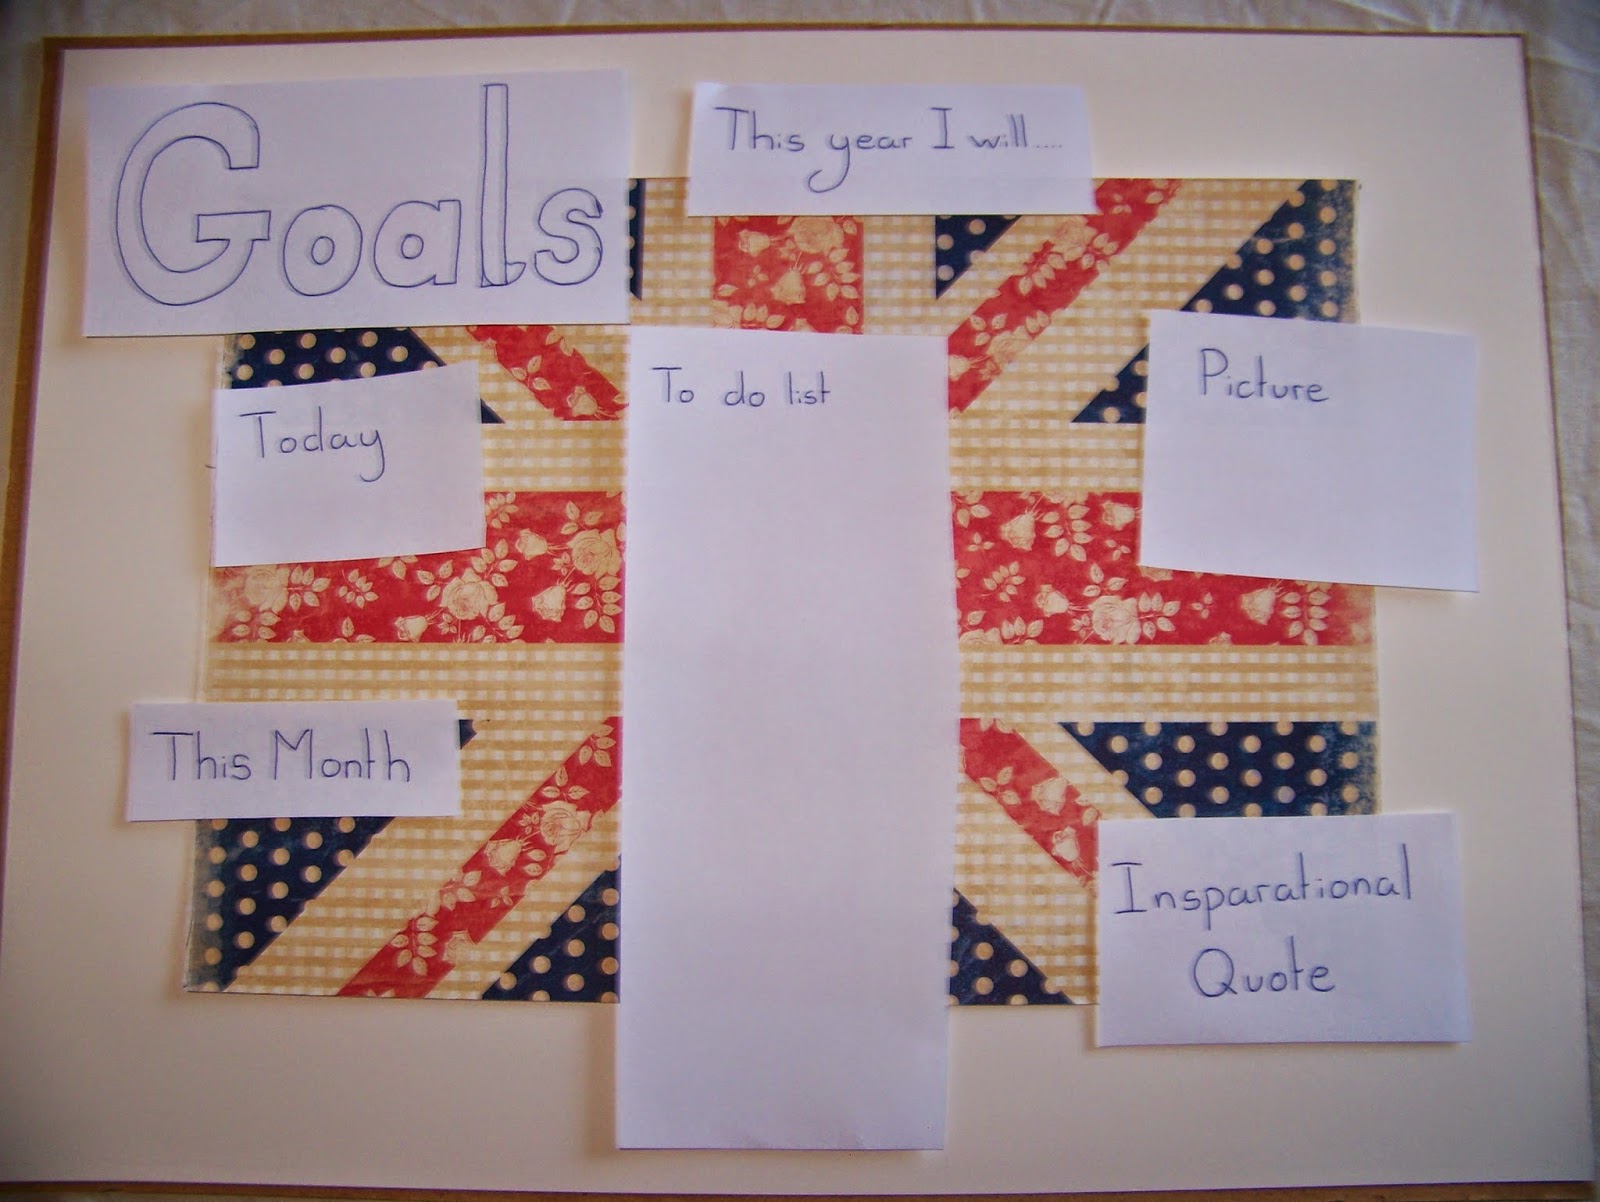

Next choose corresponding paper to highlight the different elements of your design. If you have used a pattern or specific palette for your backing paper then use coordinating colours.
Remember that when you draw on your board then you need a pale background. You can improve this if you have used a dark or heavily patterned background by laying over a piece of crepe or greaseproof paper.

Use different papers for different areas to add interest. I have cut a piece of paper from a lined book and drawn on a margin line using a felt tip pen for the "To do list".

You can hand write out your headings or print them off the computer. Here is a great site for downloading free fonts;
http://www.1001freefonts.com/
Step 4
Bringing everything together
When you are happy with the way your board looks you can start to stick things down. Start with the edges and work inward. Try to leave some spaces between things otherwise it may look too busy and overcrowded.
I have stuck down the "polaroid" frame but not the picture or quote. This means that in the future I can change these for something more relevant or seasonal.

You can decorate your board with anything you like, I have kept my board very simple so I can just glance at it and know what I am doing. But if you like glitter and unicorn stickers, then don't let me hold you back!
Step 5
Reconstructing the frame
Carefully place the glass or plastic over the board then turn it over and reinsert it into the frame. Turn the whole thing over just to check that everything is in the right place before you bend in the clips to seal the frame.

Step 5
Add your Goals!
Grab a dry wipe marker and get cracking! Remember goals should be S.M.A.R.T
- Specific - What is it that you actually want to achieve? "Being able to paint" or "being thin" arn't goals, be specific.
- Measurable - How will you know when you have reached your goal? How will you know when you have got half way?
- Actionable - To reach your goal YOU must be able to do something about it. What steps must you take to reach your goal?
- Realistic - Setting yourself unrealistic goals is setting yourself up for failure. For example "solving world hunger" is a bit of a reach. But "setting up a food bank in your local community" or "volunteer at a soup kitchen" is much more like it!
- Time orientated - Set a specific time frame, otherwise its all too easy to think "Oh I'll do it tomorrow" or "I'm a bit busy this week, I'll do it next week". There is a reason why we all have deadlines, it gets s#!t done.
There you have it, go reach your goals, follow your dreams. Step 1 is finding a picture frame, unless your goal is world domination, in that case step 1 is buying a white cat.
I have had such fun making this latest project, I hope it will inspire you to make your own "Goals board".
Please comment and follow for more great tutorials!
Subscribe to:
Posts (Atom)