Sunday 15 February 2015

Snuggle Sunday - Breakfast!


Good morning Sunday snugglers!


One of my favourite things about the weekend is the opportunity to be able to sit down (or lie down) for a proper breakfast.


I'm talking fruit juice, pastries, bacon, the whole shebang. Sundays are all about enjoying the little things, especially if it is the most important meal of the day. Snuggle up and chomp down on one of these amazing looking breccies, and not a soggy shreddie or cereal bar in sight!


I LOOOOVE crepes! and these strawberry and Nutella ones would just hit the spot this morning.

No flour? No problem! mix up a batch of these flour-less beauties for a gluten free treat!
Want to know whats better than bacon with pancakes? Bacon in pancakes! dip into maple syrup, peanut butter or one of the 2 amazing sauces at the end of this post.
If any country realy knows how to do breakfast its the French.
Did you know?
The earliest known reference to French toast is in the Apicius, a collection of Latin recipes dating to the 4th or 5th century

this recipe comes from a blog called "the girl who ate everything" and oh boy I could!

Rustle up a handful of these little delicious morsels for a quick treat at breakfast time, or anytime!

Love it or loath it, porrage is a fantastic and healthy start to the day. Add your favourite fruit and sauce for a breccia that's anything but boring.

How do you like your eggs in the morning? I like mine in a breakfast muffin!

I have only recently discovered pop tarts, and I must confess that there is such thing as too much sugar in the morning. But I think these home made versions look great.

Check out these waffles on sticks for mobile munching!?! that's the way to do it!
Enjoy delicious pancakes on the go with these bite sized pancake poppers.

Could someone pass me a straw please?


And just to show willing and prove that breakfast doesn't need to give you a heart attack. Here are some delicious and simple smoothie recipes.


Wednesday 11 February 2015

Tutorial - Hanging 3D Heart


This tutorial comes compliments of my totally amazing and super crafty Mum!


My Mum can take all the credit for my OCD (Obsessive Crafting Disorder).
Always on hand with some paper, scissors and a cup of tea. She has a wealth of creative inspiration, and has encouraged me (and consoled me) through more crafty projects than I could count!
This is a variation on a fantastic Christmas decoration pattern that I hope she will do for us closer to the festive season.


For this project you will need;


Card - Any colour you like! Try using old valentines or birthday cards.


Glue - PVA works just fine.


Cord or Ribbon - To make a loop.


Decorations or Adornments - Gems, sequins, glitter? You know the drill...


1. Make a selection of bits of card and paper that you knew would come in useful one day.


2. Make a heart template by folding a piece of card or paper in half, draw and then cut out the half a heart. You may need to have a few goes before you are happy with one. Use this template to draw round and then cut 8 (ish) hearts. 


3. If you have a mix of shades/colours it’s a good idea to arrange them in a circle to make sure the 1st one doesn’t clash with the last one.

4. Following your chosen order fold them back in half (right side inwards) and glue one half, joining it to the next until you have a stack. Double check each time that they match. Hold or peg for a little while but also open out to make sure glue hasn’t oozed out and glued all your hearts to each other.


5. Before joining the 1st to the last heart, insert a loop of fine cord or ribbon and glue in place.


6. I chose to decorate with little hearts and jewels but it is just as pretty if left plain.


7. The decoration can be packed flat for postage. It would be an idea to select your envelope to make sure it fits inside comfortably. Check thickness just in case you need to put on a large stamp.


Tuesday 10 February 2015

Tutorial - Glorious Veg Brooch


I love gardening, almost as much as I love craft. and I especially love combining the two.


whilst most of the garden is still sleeping, the greenhouse is starting to show the first murmurings of life.


Behold the glory of nature!


I know they don't look like much yet, but soon they will produce a fantastic crop of broad beans, sweet peas and potatoes!


In honour of the veg that has yet to be, I have made these cute little brooches. Sport them on a tweed jacket or trilby for that straight off the allotment chic.

Here is how I made the carrot;

    1                              2                                 3                                     4                                   5
  1. Cut out the shapes in the desired colour of felt.
  2. Sandwich the leaves between the two layers.
  3.  Sew all the way around the carrot.
  4. Add some short rows of stitched to add detailing to the shape.
  5. Sew a brooch back onto the reverse of the carrot.

Have fun making any fruit or vegetable you can think of. Whats your favorite veg? How about making some apple slice hair clips, or a potato tie clip!?

Tuesday 3 February 2015

The Comic Relief Crafternoon


It's here!

The special edition "Big Comic Relief Crafternoon" has hit the shelves of Sainsbury's. And with all this chilly weather we have been having it seems to be the perfect time to pop the kettle on, grab a chocolate biscuit and settle down to some cosy crafting.

Created by the brilliantly crafty folks over at Mollie Makes this mag is packed with more jammy crafts than a felt doughnut, and is sure to get your creative juices flowing.
Crammed with over 50 makes from some of the worlds best crafters, whether you love felt, wool or paper there is sure to be a marvellous make for you to enjoy.
Just check out some of the crafty roll call;
Dottie Angel 
Flossie Teacakes
Tania Ennor
Jenny Dixon


Retail price is £7.99 with a minimum of £5 from each mag going straight to comic relief.
As if you needed any more reason to make amazing things, this mag also includes tips and advice on holding your own craft fair to raise funds for Comic Relief!

Sunday 1 February 2015

Tutorial - Fleecy Animal Hood


Happy weekend everyone, and welcome to February!


Well it seems that spring has well and truly sprung here. It's a beautiful day and I have seen my first daffodils in flower and lambs frolicking in the fields. The wind can still bring in a bitter chill so stay cozy with one of these adorable animal hoods.


You will need;


1. 1m of fleece in the colour that you would the outside of your hood to be. I got this fleece from the lovely people at Doughty's in Hereford.
http://www.doughtysonline.co.uk/


2. 1/2m of lining fleece. This can be the same colour or a contrasting one. This pattern works without being lined but the extra layer will give your hood more structure and will be warmer. If you want the inside of your ears to be a corresponding colour then you will need fleece for this too (I used off cuts from the lining fleece).


3. Thread in the colour of your fleece.


4. A sewing machine. (You can hand stitch but it will take a loooong time.)


Step 1


Cut out your fleece.


Here are the measurements for an adult hood;


REMEMBER If you are lining you hood with the same colour fleece then you need to cut out 4 'hood side' pieces, alternatively cut out 2 in each colour.


Step 2


Insert gussets into collar.


Cut slits into the collar as indicated in the pattern.


Pin each gusset before sewing.


Sew the panel along the short edges so it makes a tube (the seam will be at the back of the hood). I found it useful to place a pin at the front center point as this will make lining things up easier later on.


Step 3


Make animal ears.


Feel free to miss this step out if you would like a plain hood. But why would you?


Cut out 4 ear pieces. Cut 2 smaller pieces of felt in a corresponding colour and sew these onto 2 of the ear pieces.


Place the 2 remaining ear pieces on top and sew round the edge.


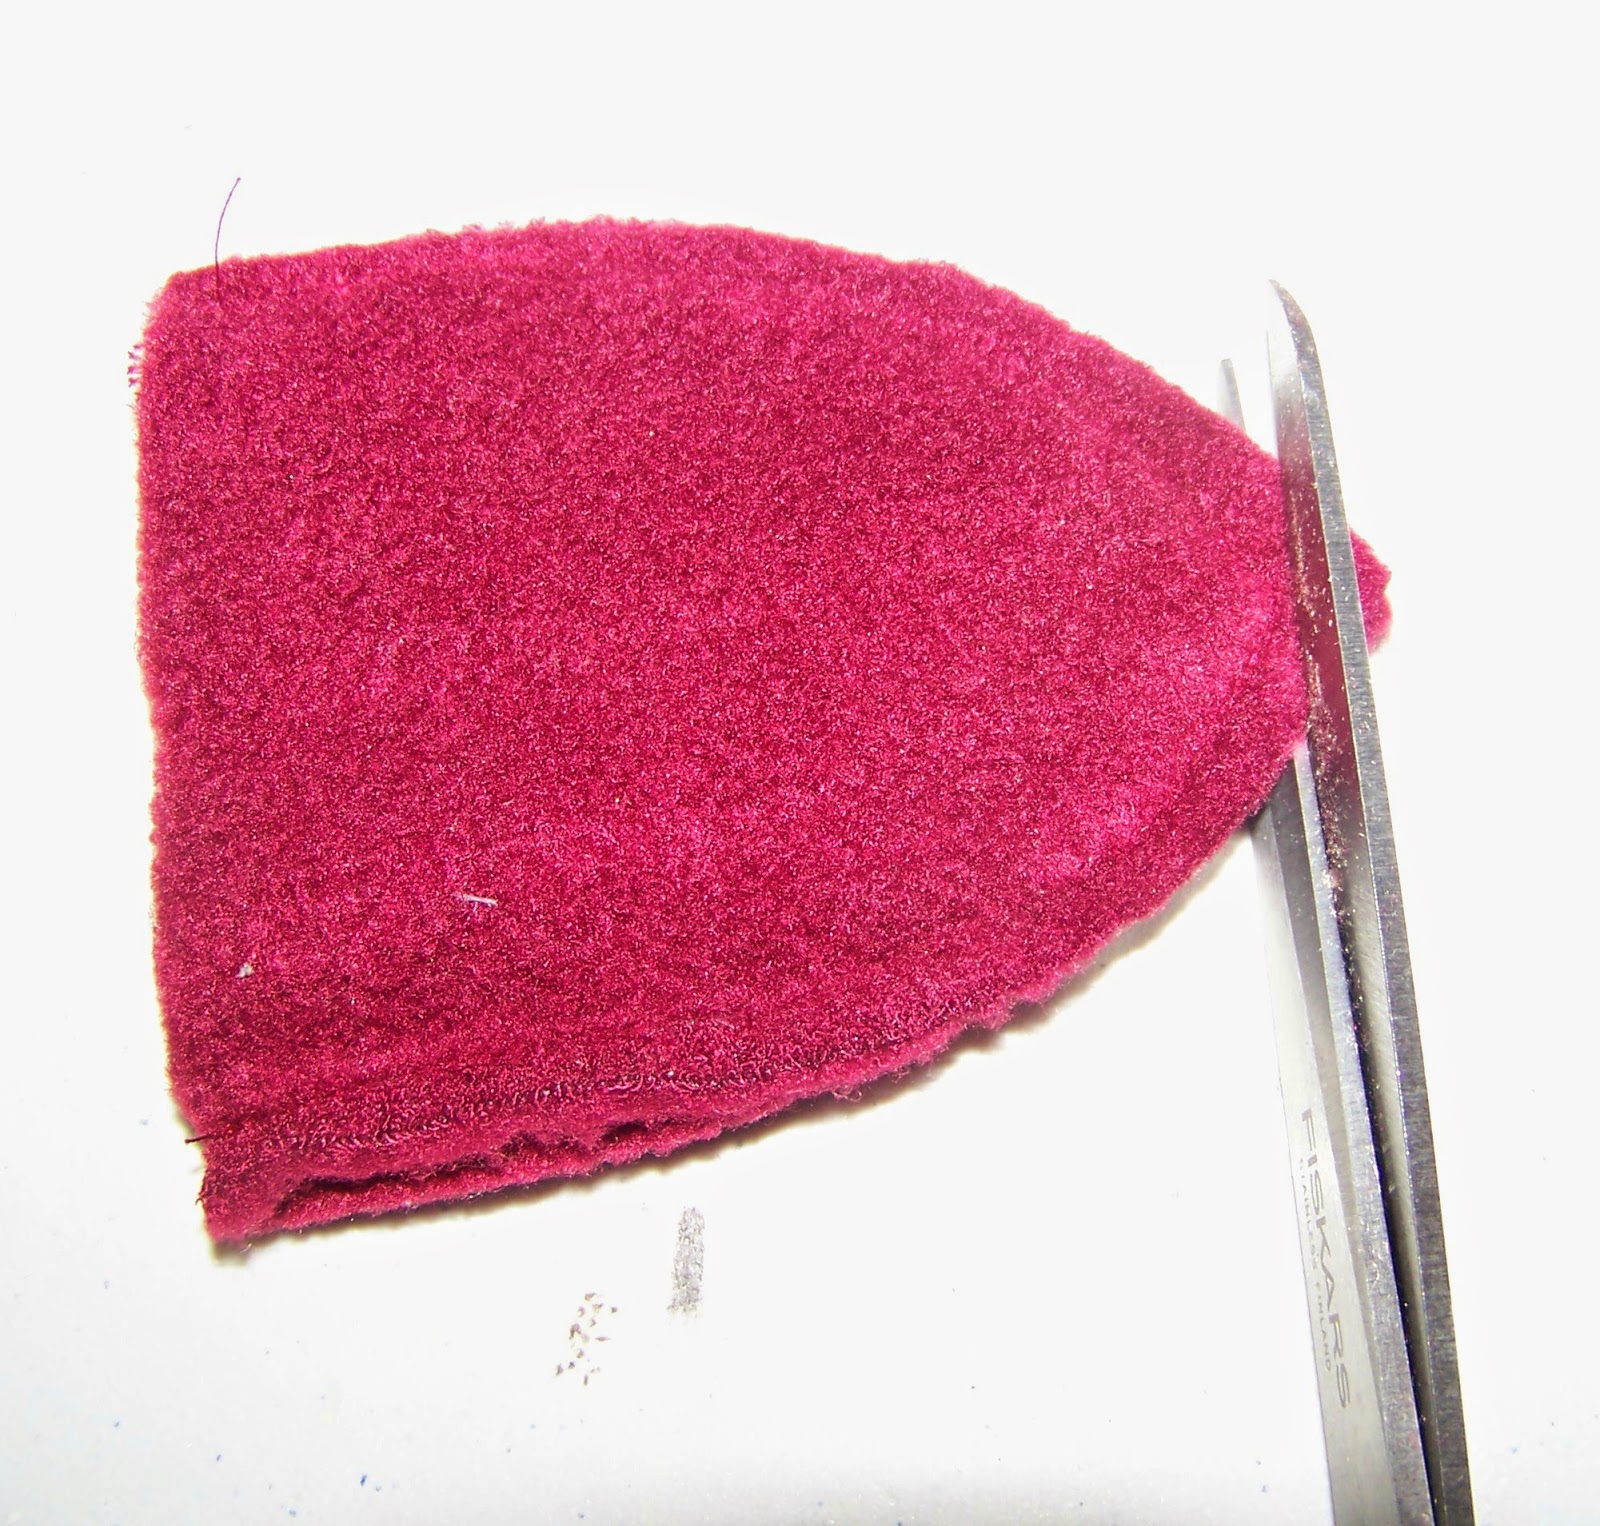
Snip the tip off each ear. This will make a finer point when you turn it inside out. Be careful not to snip your stitching.


Turn ears inside out.


Pin round the edge and sew as close to it as you can. This will make the ear flatter and help hold its shape.


Put the ears aside for the moment.


Step 4


construct hood


Pin the central hood panel to one of the sides.


Insert the first ear.


Fold the base of the ear in half and slip into the underside of the hood about 16cm from the front. The 'open' side of the fold should be facing the front of the hood. This way when you turn it the right way round it should still be facing the front. Check this once you have finished pinning, before you sew.


Sew where you have pinned.


Repeat for the other side panel.


Repeat this step in the lining fleece.


Step 5


Attach hoods together.


Place your outer hood facing you turned the right way (the ears should be on top).


Place the hood liner INSIDE OUT on top of the outer hood (you should see the seams of the liner).


Pin all the way around the front of the hood and sew.


Turn round the right way and sew close to the edge as you did with the ears.


Step 6


Attach the hood to the collar


Now this next step is a little bit tricky, I have tried to make it as clear as possible but I myself got this wrong the first time and I had to re-pin it.


Right....


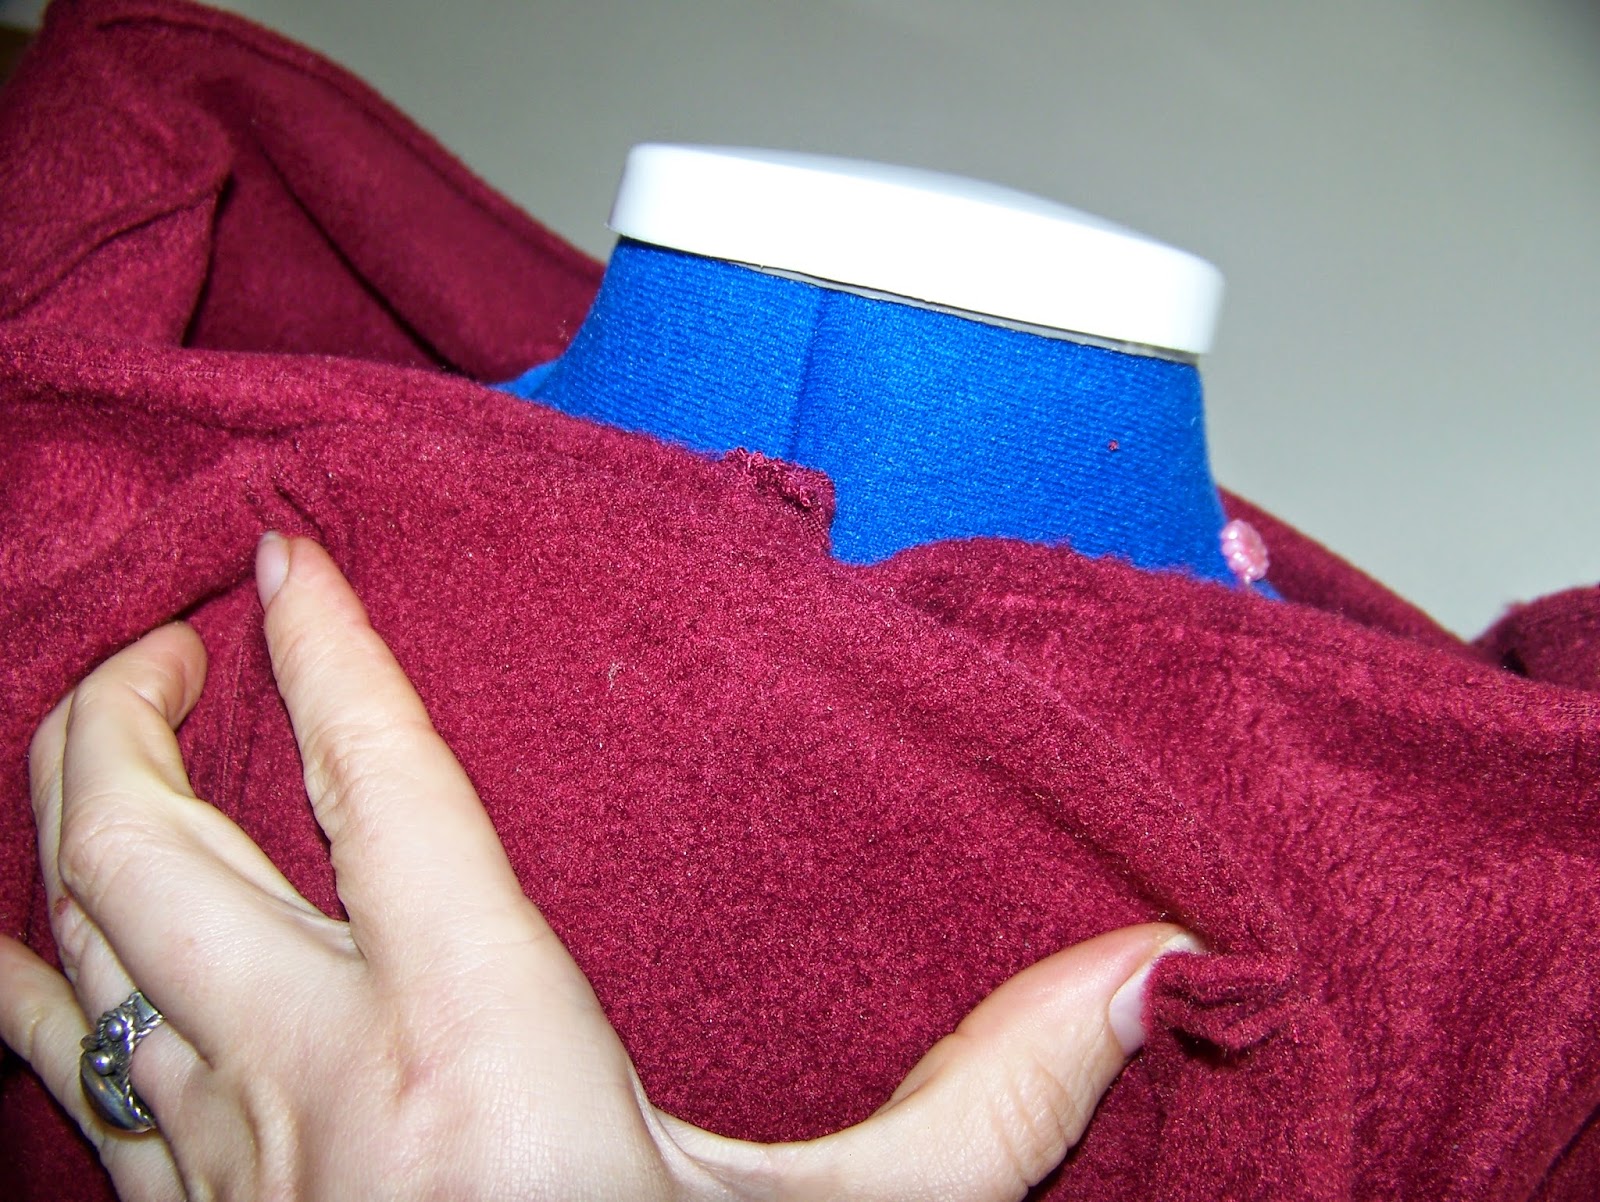
Place the collar on a mannequin so its the RIGHT WAY ROUND (tidy side facing you). If you don't have a mannequin then the back of a chair or a pillow will work just as well.


For the moment we are going to ignore the lining fleece, just let it hang down for now.


Line up the central panel of the outer hood INSIDE OUT, with the center back seam on the collar and pin.


Keep pinning the hood all the way around the edge of the collar.


You will notice an overlap at the front. This is fine, just place one side (including the liner) under the other.


Sew all the way around the edge attaching the hood to the collar.


Turn the right way round. Your nearly there!


Step 7


Sew in the hood liner.


Turn the hood back inside out as you had it at the end of the last step.


Roll a little of the hood liner over so it has a neat edge and over sew by hand, to hide the outer hood's seam.


Do this all the way around and your all done!


Don your hood and say "stuff you chilly wind!"

Why not try making different ears for your hood? A pair of floppy bunny ears would be cute for spring or perhaps add some antlers for an autumnal look?

If your having trouble with any part of the tutorial, leave a message in the comments box and I'll get back to you in a jiffy.


Happy Crafting!


Please share and like us of Facebook. Join us again soon for some more great DIYs!