

Hi everyone, I hope your having a great weekend!
2015 seems to be steaming along, and with February looming in the not to distant future I find myself thinking, "OMG I haven't done anything this year"! Have no fear, creating a goals board can help you focus and soon you will be on your way to fulfilling what you set out to do on the first of January.
You will need for this project;
1. A picture frame
This can be glass or plastic fronted, I have used glass as this is the most common that you would find in a charity shop. But if there is concern with regard to children, animals etc then Hobbycraft have a great range of plastic fronted picture frames.

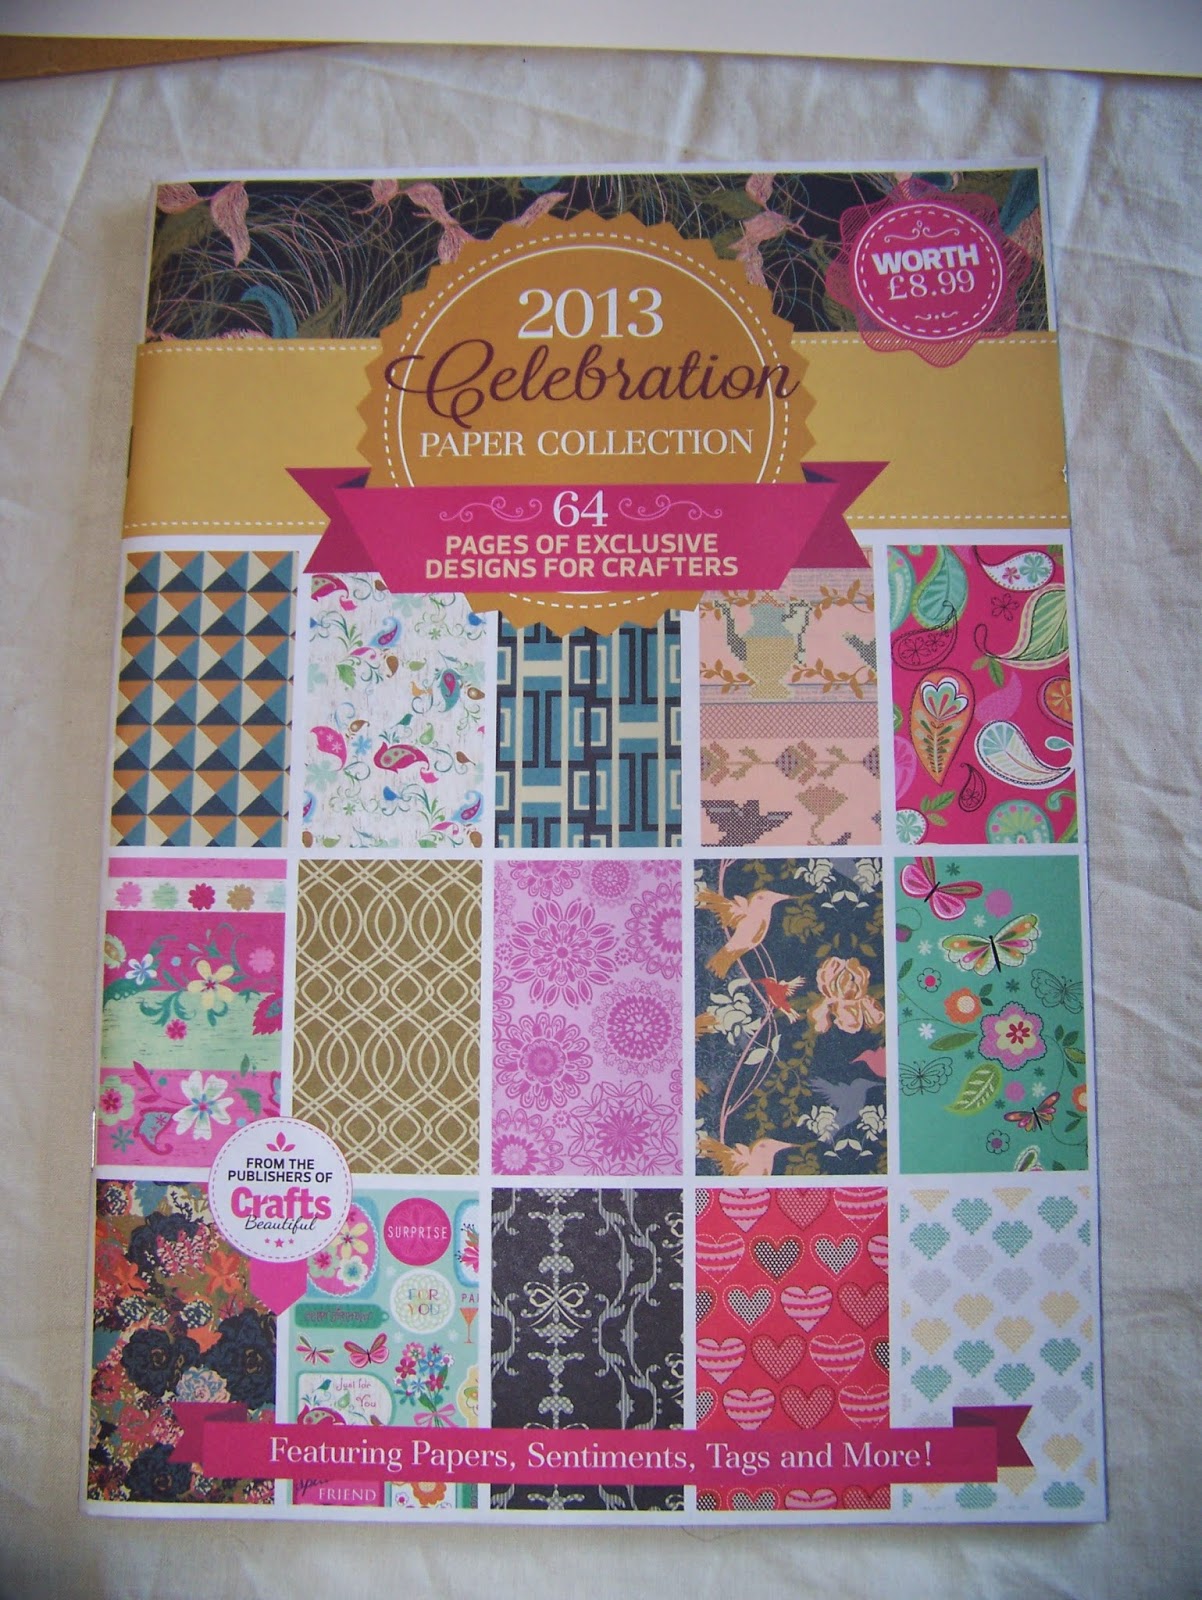
2. Coordinating paper
 I have decided to use pale pastel shades, but you can use whatever colour combinations you like. Try using a theme or colours that fit in with an existing scheme.
This paper came free with a crafting magazine. I love a freebie!
3. Double sided tape or glue
I have used tape for this project as I feel that glue can leave a "lumpy" texture on the paper. you can get round this by placing something heavy on it like a book until it has dried. you could also use a transfer tape pen.

4. Additional adornments
Glitter, photographs, lace, sequins......go nuts.
Step 1
Preparing the frame
 I bought this frame from a charity shop. Oh how I love charity shops and their guilt free shopping!
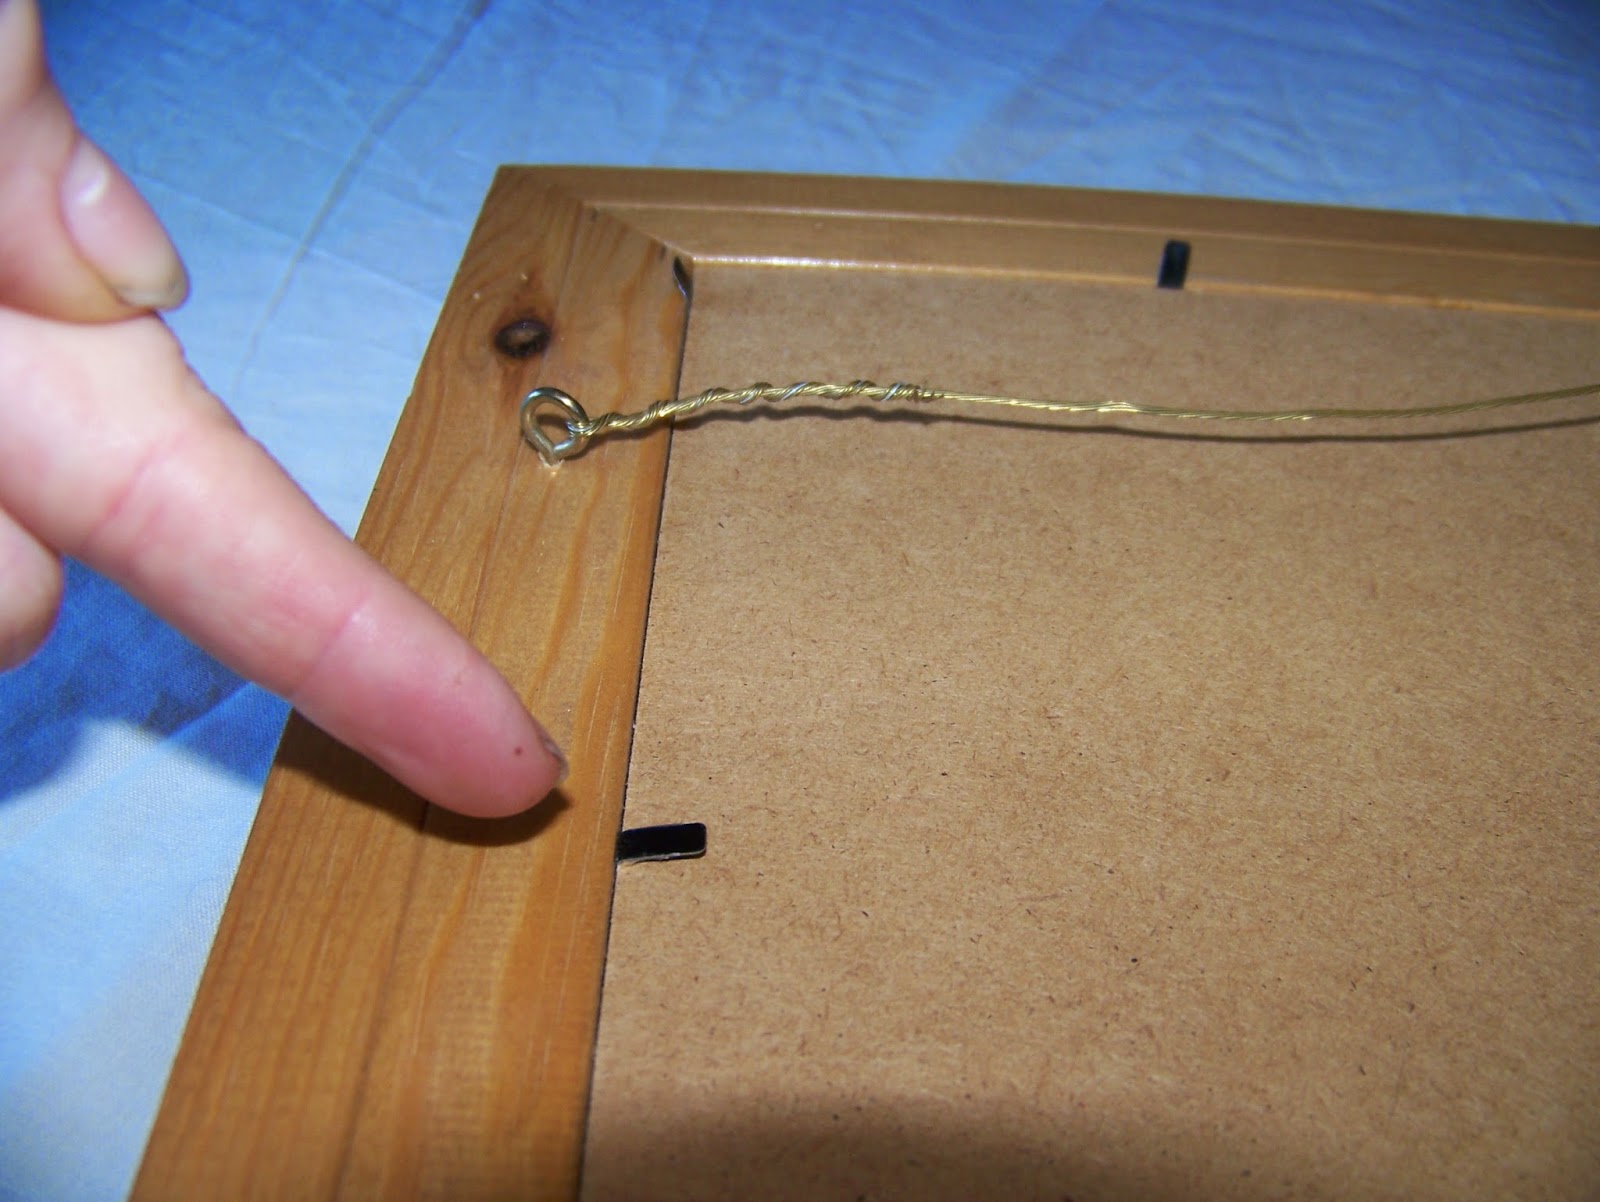
If you're buying a second hand frame then its best to get one with a re-sealable back (see pic) this is because there are elements of your board that you may want to replace in the future, and this makes it much easier.

Carefully unfold the clips and remove the backing board and any paper or card inside. Keep these for future projects, you never know when they may be useful.
VERY carefully remove the glass. WARNING! The edges of the glass may not be finished and therefore can be sharp! This is especially the case with old frames so use gloves if your not sure.
Use window cleaner or white vinegar to clean both sides of the glass. I like to use vinegar because its cheaper than window cleaner and to be honest it give just as good a result.

You can see the price sticker didn't come off very easily so I just soaked it in a little vinegar for a few minutes and then used my nail to gently push it off.


Once your happy that it is clean, set aside in a safe place where it cannot get broken.
I decided not to paint the frame, just gave it a clean. But feel free to customize it however you like, you could paint it shabby chic or decoupage for a great effect.


Step 2
Planning your board
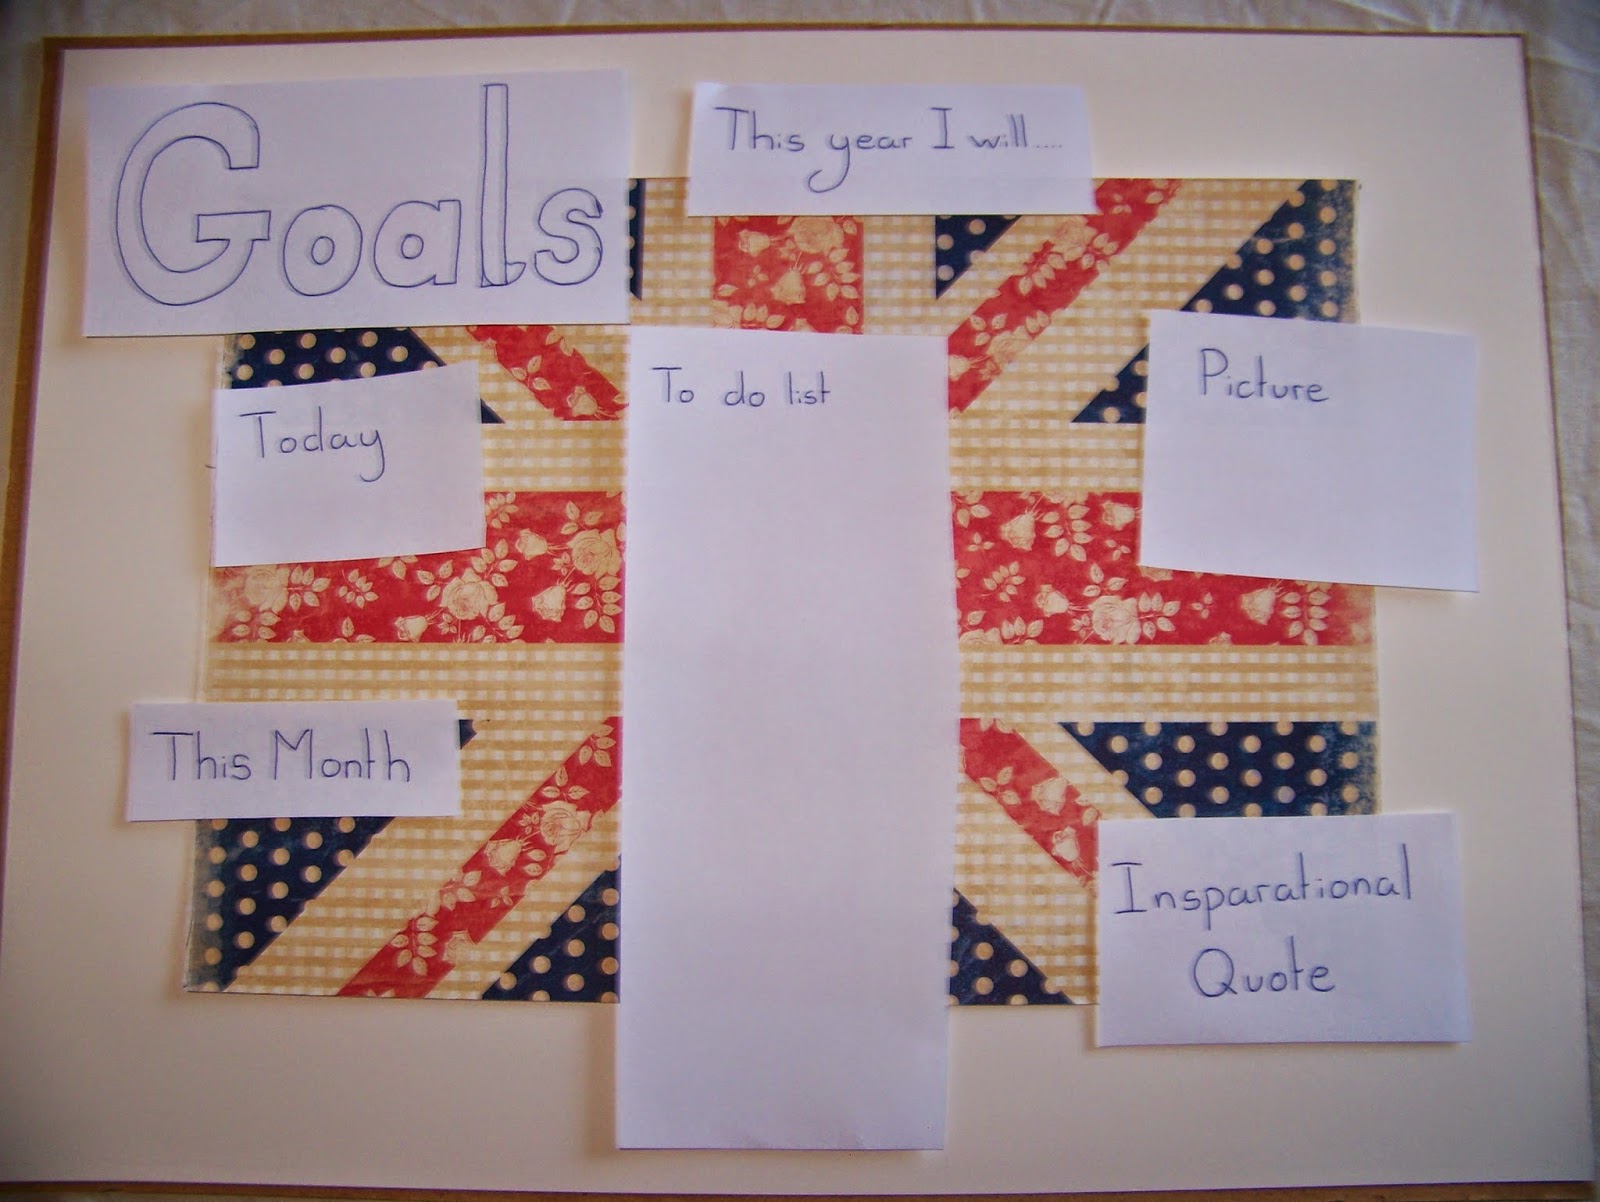
Use a piece of paper to roughly plan out how you would like your board to look.
Incorporate all the elements that you would like in your final design. these could include;
- Photos
- Inspirational quotes
- Lists
- Charts/progress markers
- Momentos
- Space for notes/reminders

Cut out these items on scrap paper and place them on your backing board to see how they fit in the space. Move then around until your happy with the layout.
Step 3
Choosing paper
Choose a backing paper. This can be plain or have a pattern. If you're using more than one sheet to cover your backing board then make sure the pattern lines up with the next sheet so that the join isn't too obvious.


Next choose corresponding paper to highlight the different elements of your design. If you have used a pattern or specific palette for your backing paper then use coordinating colours.
Remember that when you draw on your board then you need a pale background. You can improve this if you have used a dark or heavily patterned background by laying over a piece of crepe or greaseproof paper.

Use different papers for different areas to add interest. I have cut a piece of paper from a lined book and drawn on a margin line using a felt tip pen for the "To do list".

You can hand write out your headings or print them off the computer. Here is a great site for downloading free fonts;
http://www.1001freefonts.com/
Step 4
Bringing everything together
When you are happy with the way your board looks you can start to stick things down. Start with the edges and work inward. Try to leave some spaces between things otherwise it may look too busy and overcrowded.
I have stuck down the "polaroid" frame but not the picture or quote. This means that in the future I can change these for something more relevant or seasonal.

You can decorate your board with anything you like, I have kept my board very simple so I can just glance at it and know what I am doing. But if you like glitter and unicorn stickers, then don't let me hold you back!
Step 5
Reconstructing the frame
Carefully place the glass or plastic over the board then turn it over and reinsert it into the frame. Turn the whole thing over just to check that everything is in the right place before you bend in the clips to seal the frame.

Step 5
Add your Goals!
Grab a dry wipe marker and get cracking! Remember goals should be S.M.A.R.T
- Specific - What is it that you actually want to achieve? "Being able to paint" or "being thin" arn't goals, be specific.
- Measurable - How will you know when you have reached your goal? How will you know when you have got half way?
- Actionable - To reach your goal YOU must be able to do something about it. What steps must you take to reach your goal?
- Realistic - Setting yourself unrealistic goals is setting yourself up for failure. For example "solving world hunger" is a bit of a reach. But "setting up a food bank in your local community" or "volunteer at a soup kitchen" is much more like it!
- Time orientated - Set a specific time frame, otherwise its all too easy to think "Oh I'll do it tomorrow" or "I'm a bit busy this week, I'll do it next week". There is a reason why we all have deadlines, it gets s#!t done.
There you have it, go reach your goals, follow your dreams. Step 1 is finding a picture frame, unless your goal is world domination, in that case step 1 is buying a white cat.
I have had such fun making this latest project, I hope it will inspire you to make your own "Goals board".
Please comment and follow for more great tutorials!
No comments:
Post a Comment