
Hi there fellow crafters!
You know what I love more than anything? COFFEE!
Yes, even more than Ryan Reynolds handing me a tax rebate cheque with his shirt off. Coffee is what gets me through the day and often the night too. And although my love for the humble caffeinated beverage has also been described as; "dependant", "compulsive", or "please honey put down the kettle and let the nice man go", I would not be able to do half the things I do without it.
So what fitting way to show our appreciation for this great drink that to keep it snug in its own little cozy. On with the tutorial!
You will need;
1. Insulating inner fabric. This can be wool, fleece, wadding or anything else you happen to have about that's going to trap air and keep the cafetiere snug as a bug.
2. Outer fabric. This can be anything. I used a plain cotton calico as I find it great to machine embroider with but you can use a patterned cotton or anything else for that matter.
3. Permanent marker.
4. Air erasable pen. Available from most craft shops or haberdashery supplies. Alternatively a pencil works OK too.
5. An embroidery hoop. Ensure that its big enough to fit your whole design inside.
6. Elastic. You only need a little, 10cm is fine.
7. 2 buttons.
Step 1
Measure
Measure
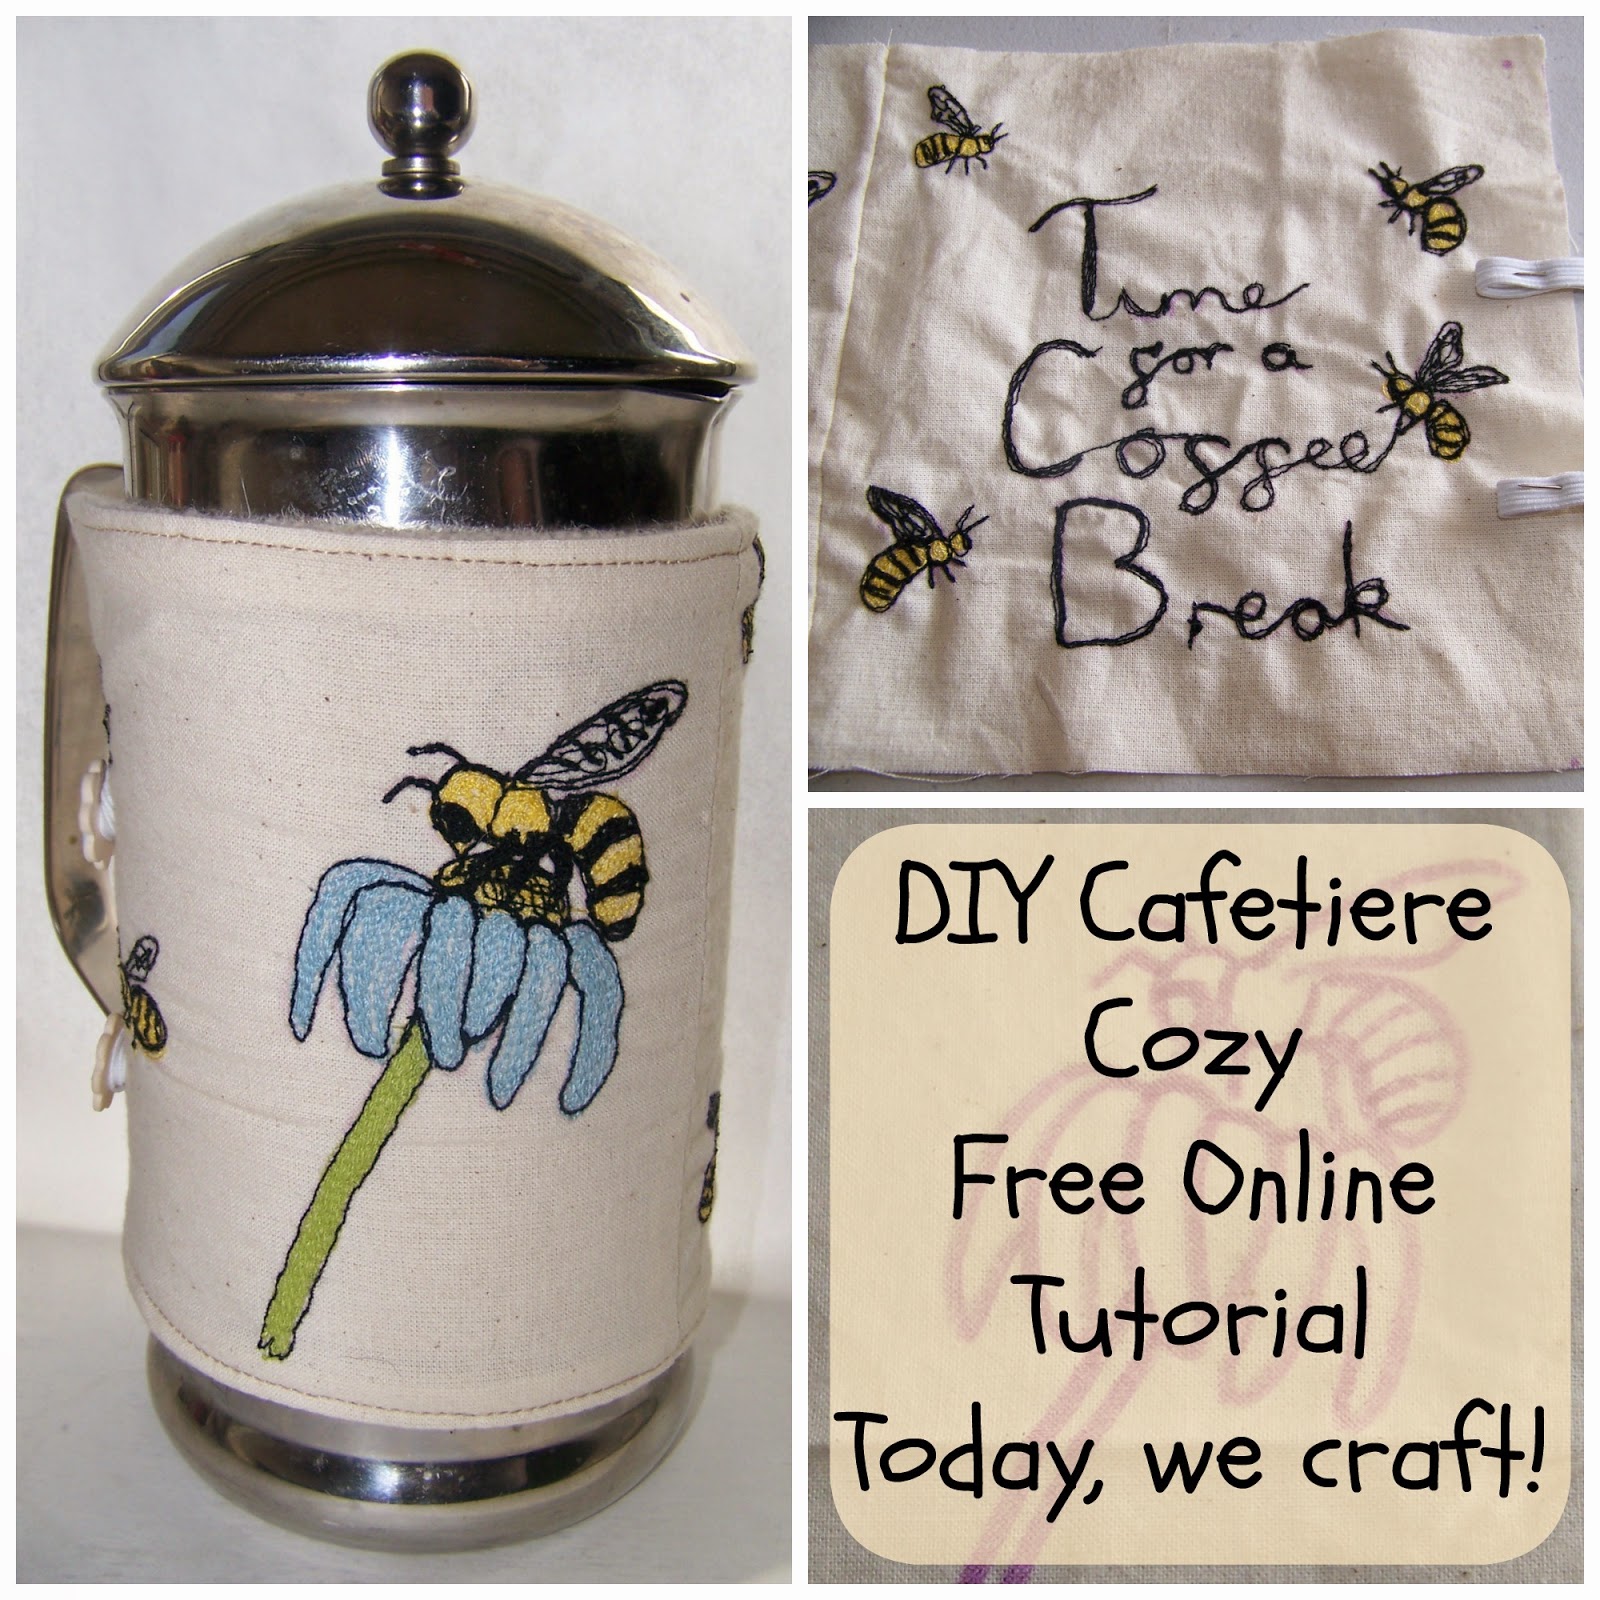
The first thing you will need to do is measure your cafetiere. You need to measure the length from top to bottom and around the middle. If like this one the cafetiere has a solid handle you will need to make the cozy stop just short of it (the elastic will then bridge the gap, see image of the finished article at the end of the tutorial). Remember to leave at least a 1cm seam allowance around both your outer and inner fabric.


Draw your design
I would recommend you try to keep this as simple as possible. trying to recreate "The Last Judgement" by Michelangelo in freehand embroidery isn't going to end well.
Start off by drawing your design on paper as this will give you a good idea as to how it will look on the caffetiere. Once you are happy with it go over you drawing with a permanent marker.

Place your outer fabric over your design and using the air erasable marker or a soft pencil trace the image onto it.


Step 3
Embroider your design
If you haven't already, this would be a good time to pop over to my tutorial on machine embroidery, just follow this link. This will take you through mounting your fabric on the machine up to putting your cozy together.


Step 4
layer the cozy
At this point its worth adding that after I had sewn my design I realised that when I wrapped the fabric around my cafetiere I had a big space in the middle where NOTHING was happening! I guess I could have put another bumblebee there or something but as I had left plenty of fabric either side, I just opted to sew the two images closer together to join the gap.

Once you are happy with your design, cut the inner and outer fabric the same size as per your cafetiere measurements.

Place your outer fabric face up on a table.
Take 10cm of elastic and cut it in half to made 2 loops. Place the open end of the loop on the outside of the outer fabric and pin in place.

Now place the inner fabric over the top of the outer and pin securely.

Step 5
Sewing
Sew all the way around the fabric leaving a 5cm gap in the top corner.

Clip the corners off the fabric. This will make them neater once you've turned them inside out.

Turn the whole thing inside out through the space you have left. Don't forget to poke out the corners with a pen.


Over stitch the gap.

Step 6
Buttons
Wrap the cozy around the cafetiere to work out where the buttons need to be in relation to the elastic, then sew them on.

All done!
Now your cafetiere is dressed to impress. Use the same method to make matching mug cozies for a super toasty beverage.
Time to put the kettle on I think....


