

Just the other day I saw my first honey bee of the season and to celebrate I thought I would make a little tutorial to show you how to do your own freehand embroidery of this most awesome of Apidae!
you will need;
- A sewing machine. Any machine will do as long as the sewing feet are interchangeable.
- A freehand sewing foot and plate (see photo) If your not sure what foot you need or if it will fit your machine then ask your local machine supplier or haberdashery.
 Embroidery hoop. Any size is fine as long as you can fit the whole of your design comfortably inside it. The smaller you go, the tighter the fabric will stay and the neater your final design will be.
- Fabric. I have used calico for this project as it is nice and strong. You don't want anything that is stretchy as you want the fabric to stay tight in the embroidery hoop.
- Marker pen. This will make your design easier to trace onto your fabric.
- Air erasable marker. This is what you will be sewing over on the fabric. If you don't have one of these then a soft pencil will do fine.
Step 1
Draw your design.
KEEP IT SIMPLE! Don't try to put in too much detail at this point. When drawing try to keep your pen or pencil on the page the whole time. This will mimic the effect the sewing machine will have and will give you a better idea as to how you will sew the design on to the fabric.

Once you are happy with your design, draw over it with the marker pen. This will make it much easier to see through the fabric.

Step 2
Mount your fabric.
Start by laying your outer hoop on a flat surface (1). Next lay your fabric over the top (2). Place the inner circle on top (3) and push down so it slides into the outer circle (4). Ensure the fabric is as tight as possible. You should be able to tap it an make a hollow drumming sound.

Step 3
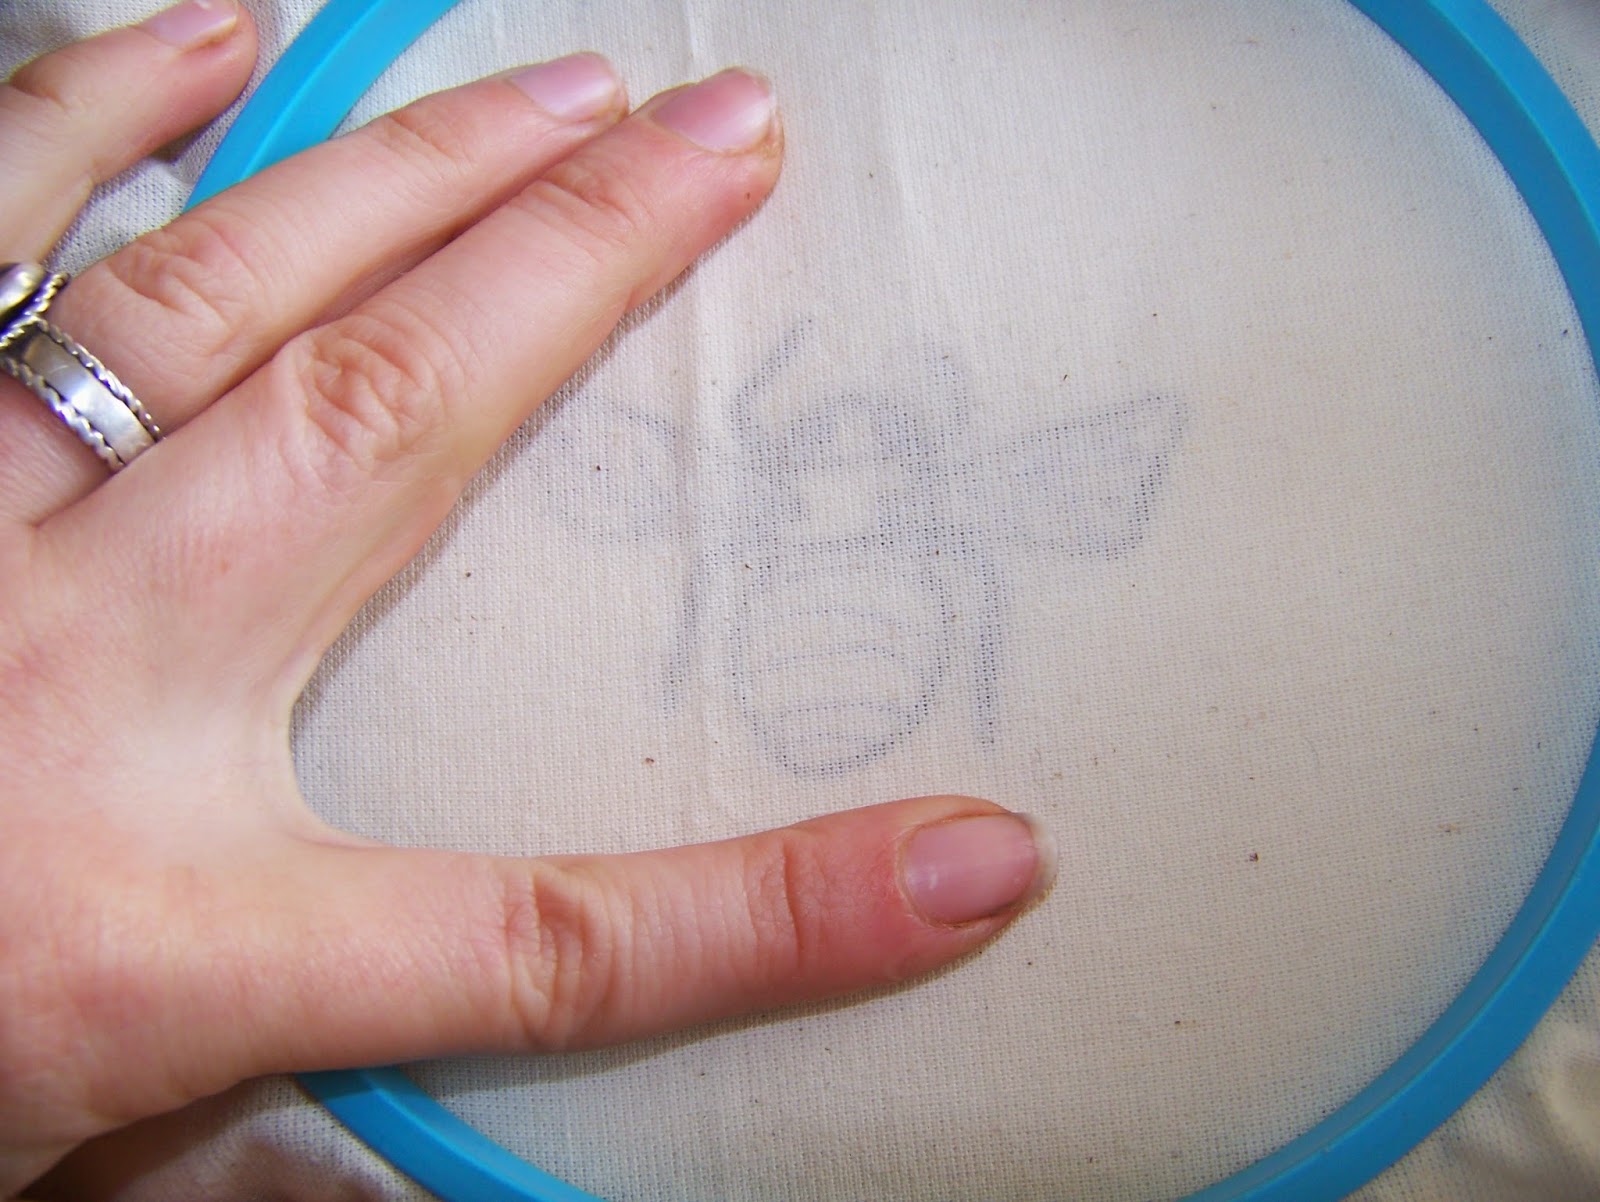
Trace your design onto the fabric.
Use the air erasable pen or a pencil to trace your design onto the fabric. The fabric should be sitting flat on the table (the hoop you can see is the inner one).

Step 4
Set up your machine.
Attach your freehand sewing foot and plate and thread as normal. Your machine may have feeder feet that can be dropped in which case you will not need a plate.

Step 5
Embroider your design.
Drop the needle and begin to embroider the design. Move the embroidery hoop gently and evenly until you have covered your pattern. For blocks of colour, repeatedly move the needle over the area.


Step 6
Add colour.
Use a Dylon fabric pen to colour in any areas that you have not sewn. You can alternately embroider these areas.


Enjoy your queen bee!
Try playing about with designs and colours or embroider over the top of an existing patterned fabric.